


功能 •
安装 •
用法 •
运行 Proxify •
安装 SSL 证书 •
Proxify 的应用 •
加入 Discord
用于快速部署的瑞士军刀代理。支持多种操作,如请求/响应转储、通过 DSL 语言进行过滤和操作、上游 HTTP/Socks5 代理。
此外,重放工具可将转储的流量(带正确域名的请求/响应)导入 BurpSuite 或其他代理,只需将上游代理设置为 proxify。
# 功能
- 拦截 / 操作 **HTTP/HTTPS** 与 **非 HTTP** 流量
- 支持 **隐形 & 粗体客户端** 流量代理
- TLS MITM 支持客户端/服务器证书
- 支持上游代理的 **HTTP** 与 **SOCKS5**
- 支持流量 **匹配/过滤和替换** DSL
- 完整流量转储到文件(请求/响应)
- 原生嵌入 DNS 服务器
- 插件支持解码特定协议(如 XMPP/SMTP/FTP/SSH/)
- 在 Burp 中重放 Proxify 流量
# 安装
下载可直接运行的 [binary](https://github.com/projectdiscovery/proxify/releases/) 或使用 GO 进行安装/构建
```
go install -v github.com/projectdiscovery/proxify/cmd/proxify@latest
```
# 用法
```
proxify -h
```
这将显示工具的帮助信息。以下是它支持的所有开关。
```
Swiss Army Knife Proxy for rapid deployments. Supports multiple operations such as request/response dump,filtering and manipulation via DSL language, upstream HTTP/Socks5 proxy
Usage:
./proxify [flags]
Flags:
OUTPUT:
-sr, -store-response store raw http request / response to output directory (default proxify_logs)
-o, -output output file to store proxify logs (default proxify_logs.jsonl)
-of, -output-format string output format (jsonl/yaml) (default "jsonl")
-dump-req Dump only HTTP requests to output file
-dump-resp Dump only HTTP responses to output file
-oca, -out-ca string Generate and Save CA File to filename
UPDATE:
-up, -update update proxify to latest version
-duc, -disable-update-check disable automatic proxify update check
FILTER:
-req-fd, -request-dsl string[] Request Filter DSL
-resp-fd, -response-dsl string[] Response Filter DSL
-req-mrd, -request-match-replace-dsl string[] Request Match-Replace DSL
-resp-mrd, -response-match-replace-dsl string[] Response Match-Replace DSL
NETWORK:
-ha, -http-addr string Listening HTTP IP and Port address (ip:port) (default "127.0.0.1:8888")
-sa, -socks-addr Listening SOCKS IP and Port address (ip:port) (default 127.0.0.1:10080)
-da, -dns-addr string Listening DNS IP and Port address (ip:port)
-dm, -dns-mapping string Domain to IP DNS mapping (eg domain:ip,domain:ip,..)
-r, -resolver string Custom DNS resolvers to use (ip:port)
PROXY:
-hp, -http-proxy string[] Upstream HTTP Proxies (eg http://proxy-ip:proxy-port)
-sp, -socks5-proxy string[] Upstream SOCKS5 Proxies (eg socks5://proxy-ip:proxy-port)
-c int Number of requests before switching to the next upstream proxy (default 1)
EXPORT:
-max-size int Max export data size (request/responses will be truncated) (default 9223372036854775807)
CONFIGURATION:
-config string path to the proxify configuration file
-ec, -export-config string proxify export module configuration file (default "$CONFIG/export-config.yaml")
-config-directory string override the default config path (default "$CONFIG/proxify")
-cert-cache-size int Number of certificates to cache (default 256)
-a, -allow string[] Allowed list of IP/CIDR's to be proxied
-d, -deny string[] Denied list of IP/CIDR's to be proxied
-pt, -passthrough string[] List of passthrough domains
DEBUG:
-nc, -no-color No Color
-version Version
-silent Silent
-v, -verbose Verbose
-vv, -very-verbose Very Verbose
```
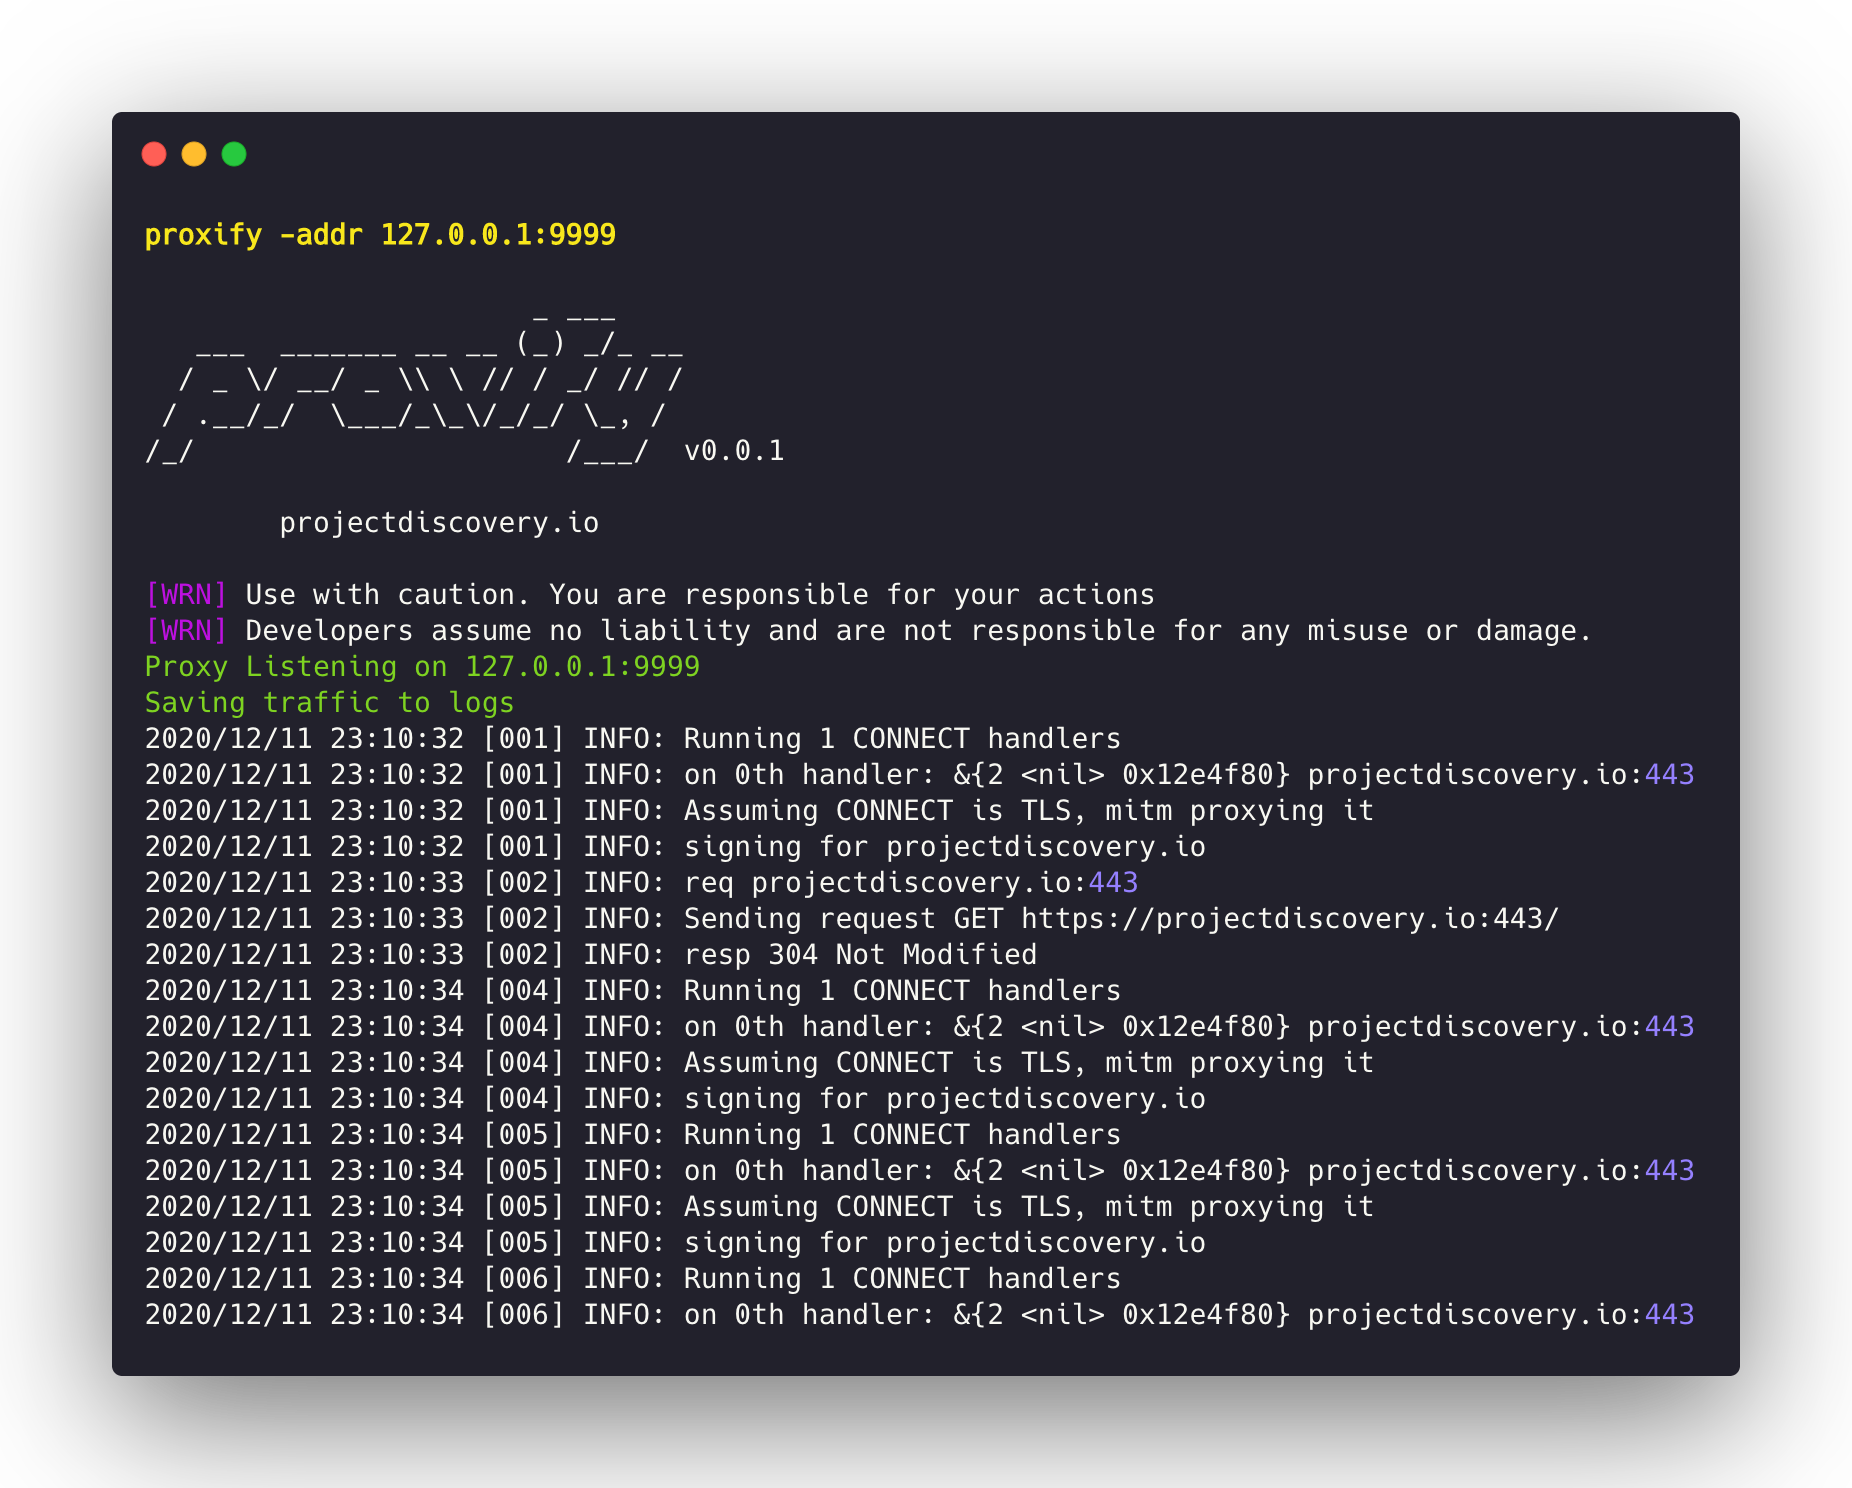
### 运行 Proxify
在端口 **8888** 上运行 HTTP 代理:
```
proxify
```
在自定义端口 **1111** 上运行 HTTP 代理:
```
proxify -http-addr ":1111"
```
### TLS 直通
-pt 标志可用于直通(跳过)加密流量,而不尝试终止 TLS 连接。
```
proxify -pt '(.*\.)?google\.co.in.*'
```
### 使用上游代理的 Proxify
在端口 8888 上运行 HTTP 代理,并将流量转发到 burp 的 **8080** 端口:
```
proxify -http-proxy http://127.0.0.1:8080
```
在端口 8888 上运行 HTTP 代理,并将流量转发到 TOR 网络:
```
proxify -socks5-proxy 127.0.0.1:9050
```
### 转储所有 HTTP/HTTPS 流量
Proxify 支持三种输出格式:**JSONL**、**YAML** 和 **文件**。
**JSONL**(默认):
在 Json Lines 格式中,每个 Http 请求/响应对以单行 JSON 对象存储。
```
{"timestamp":"2024-02-20T01:56:49+05:30","url":"https://scanme.sh:443","request":{"header":{"Connection":"close","User-Agent":"curl/8.1.2","host":"scanme.sh:443","method":"CONNECT","path":"","scheme":"https"},"raw":"CONNECT scanme.sh:443 HTTP/1.1\r\nHost: scanme.sh:443\r\nConnection: close\r\nUser-Agent: curl/8.1.2\r\n\r\n"},"response":{"header":{"Content-Length":"0"},"raw":"HTTP/1.1 200 OK\r\nContent-Length: 0\r\n\r\n"}}
{"timestamp":"2024-02-20T01:56:49+05:30","url":"https://scanme.sh/","request":{"header":{"Accept":"*/*","Connection":"close","User-Agent":"curl/8.1.2","host":"scanme.sh","method":"GET","path":"/","scheme":"https"},"raw":"GET / HTTP/1.1\r\nHost: scanme.sh\r\nAccept: */*\r\nConnection: close\r\nUser-Agent: curl/8.1.2\r\n\r\n"},"response":{"header":{"Content-Type":"text/plain; charset=utf-8","Date":"Mon, 19 Feb 2024 20:26:49 GMT"},"body":"ok","raw":"HTTP/1.1 200 OK\r\nConnection: close\r\nContent-Type: text/plain; charset=utf-8\r\nDate: Mon, 19 Feb 2024 20:26:49 GMT\r\n\r\n"}}
```
**Yaml 多文档**:
在 YAML 多文档格式中,每个 HTTP 请求和响应对被封装为单独的文档。输出 yaml 文件中的所有文档使用 `---` 分隔,以便流式解析和消费。
```
proxify -output-format yaml
```
```
timestamp: "2024-02-20T01:40:40+05:30"
url: https://scanme.sh:443
request:
header:
Connection: close
User-Agent: curl/8.1.2
host: scanme.sh:443
method: CONNECT
path: ""
scheme: https
body: ""
raw: "CONNECT scanme.sh:443 HTTP/1.1\r\nHost: scanme.sh:443\r\nConnection: close\r\nUser-Agent: curl/8.1.2\r\n\r\n"
response:
header:
Content-Length: "0"
body: ""
raw: "HTTP/1.1 200 OK\r\nContent-Length: 0\r\n\r\n"
---
timestamp: "2024-02-20T01:40:40+05:30"
...
```
**文件**:
在文件格式中,每个 HTTP 请求和响应对存储在单独的文件中,请求后跟响应。文件名格式为 `{{Host}}-{{randstr}}.txt`。此外,可使用 **dump-req** 或 **dump-resp** 标志保存请求的特定部分到文件。
```
proxify -store-response
```
### 使用本地 DNS 解析器进行主机名映射
Proxify 支持嵌入 DNS 解析器,将主机名映射到特定地址,并为其他域名定义上游 DNS 服务器
在端口 `8888` 上运行 HTTP 代理,使用嵌入的 DNS 服务器监听 `53` 端口,将 `www.google.it` 解析为 `192.168.1.1`,所有其他 `fqdn` 转发至上游 `1.1.1.1`:
```
proxify -dns-addr ":53" -dns-mapping "www.google.it:192.168.1.1" -dns-resolver "1.1.1.1:53"
```
此功能示例 `replay` 工具用于劫持连接并模拟响应。它在内部评估中使用私有 DNS 服务器时可能有用。使用 `*` 作为域名可匹配所有 DNS 请求。
### 使用 DSL 匹配/过滤流量
如果请求或响应匹配过滤器,转储文件将带有 `.match.txt` 后缀:
```
proxify -request-dsl "contains(request,'firefox')" -response-dsl "contains(response, md5('test'))"
```
### 实时匹配并替换
Proxify 支持使用 DSL 语言实时修改请求和响应。
以下示例将请求中的 `firefox` 替换为 `chrome`:
```
proxify -request-match-replace-dsl "replace(request,'firefox','chrome')"
```
另一个使用 **正则表达式** 替换响应的示例:
```
proxify -response-match-replace-dsl "replace_regex(response, '^authentication failed$', 'authentication ok')"
```
### 将所有流量重放到 burp
如果未指定目标 URL(http://127.0.0.1:8080),则将所有转储的请求/响应重放到该 URL。要实现此功能,需要将 burp 配置为使用 proxify 作为上游代理,因为它会劫持 DNS 解析并使用转储的请求模拟远程服务器。这使得 burp 历史中恰好包含所有请求/响应,就好像它们最初是通过 burp 发送的,从而可以在云端执行远程拦截,并在 burp 中本地合并所有结果。
```
replay -output "logs/"
```
### 安装 SSL 证书
为 proxify 生成的证书颁发机构默认存储在 `~/.config/proxify/` 文件夹中,也可以通过 `-config` 标志手动指定。生成的证书可通过在连接到 proxify 的浏览器中访问 [http://proxify/cacert](http://proxify/cacert) 导入。
根证书的安装步骤与其他代理工具类似,包括将证书添加到系统受信任根存储。
### Proxify 的应用
Proxify 可用于多种场景,以下是一些常见的示例:
👉 将所有 burp 代理历史日志本地存储。
在端口 `8888` 上运行 HTTP 代理,并将流量转发到 burp 的 `8080` 端口:
```
proxify -http-proxy http://127.0.0.1:8080
```
在 BurpSuite 中,将上游代理设置为将所有流量转发回 `proxify`:
```
User Options > Upstream Proxy > Proxy & Port > 127.0.0.1 & 8888
```
现在,所有请求/响应历史将存储在 `logs` 文件夹中,可供后续处理使用。
👉 将所有浏览历史本地存储。
在浏览应用时,可将浏览器指向 `proxify`,将所有 HTTP 请求/响应存储到文件。
在默认或任意端口启动 proxify:
```
proxify -output chrome-logs
```
在 macOS 上启动 Chrome 浏览器:
```
/Applications/Chromium.app/Contents/MacOS/Chromium --ignore-certificate-errors --proxy-server=http://127.0.0.1:8888 &
```
👉 在模糊测试时根据运行时配置本地存储所有响应。
在默认或任意端口启动 proxify:
```
proxify -output ffuf-logs
```
使用指向 `proxify` 的代理运行 `FFuF`:
```
ffuf -x http://127.0.0.1:8888 FFUF_CMD_HERE
```
`Proxify` 由 [projectdiscovery](https://projectdiscovery.io) 团队用 🖤 打造。社区贡献使项目成为现在的模样。更多详情请参阅 **[Thanks.md](https://github.com/projectdiscovery/proxify/blob/master/THANKS.md)** 文件。