starship/starship
GitHub: starship/starship
一款轻量、极速、高度可定制的跨平台 Shell 提示符,支持多种 Shell 和操作系统。
Stars: 58539 | Forks: 2566


![]()
![]()
![]()
![]()
![]()
![]()
![]()
![]()
![]()
![]()
![]()
![]()
![]()
 **轻量、极速、无限可定制的各种 Shell 提示符!**
- **极速**:它很快 – _真的非常_ 快! 🚀
- **可定制**:配置提示符的方方面面。
- **通用**:适用于任何操作系统上的任何 Shell。
- **智能**:一目了然地显示相关信息。
- **功能丰富**:支持所有你喜欢的工具。
- **易用**:快速安装 – 几分钟内即可开始使用。
## 🚀 安装
### 前置条件
- 在终端中安装并启用 [Nerd Font](https://www.nerdfonts.com/)(例如,尝试使用 [FiraCode Nerd Font](https://www.nerdfonts.com/font-downloads))。
### 步骤 1. 安装 Starship
从下面的列表中选择你的操作系统以查看安装说明:
**轻量、极速、无限可定制的各种 Shell 提示符!**
- **极速**:它很快 – _真的非常_ 快! 🚀
- **可定制**:配置提示符的方方面面。
- **通用**:适用于任何操作系统上的任何 Shell。
- **智能**:一目了然地显示相关信息。
- **功能丰富**:支持所有你喜欢的工具。
- **易用**:快速安装 – 几分钟内即可开始使用。
## 🚀 安装
### 前置条件
- 在终端中安装并启用 [Nerd Font](https://www.nerdfonts.com/)(例如,尝试使用 [FiraCode Nerd Font](https://www.nerdfonts.com/font-downloads))。
### 步骤 1. 安装 Starship
从下面的列表中选择你的操作系统以查看安装说明:
Android
使用以下任意包管理器安装 Starship: | Repository | Instructions | | ---------- | ---------------------- | | [Termux] | `pkg install starship` |BSD
使用以下任意包管理器安装 Starship: | Distribution | Repository | Instructions | | ------------ | --------------- | --------------------------------- | | **_Any_** | **[crates.io]** | `cargo install starship --locked` | | FreeBSD | [FreshPorts] | `pkg install starship` | | NetBSD | [pkgsrc] | `pkgin install starship` |Linux
为你的系统安装最新版本: ``` curl -sS https://starship.rs/install.sh | sh ``` 或者,使用以下任意包管理器安装 Starship: | Distribution | Repository | Instructions | | ------------------ | ----------------------- | ------------------------------------------------------------- | | **_Any_** | **[crates.io]** | `cargo install starship --locked` | | _Any_ | [conda-forge] | `conda install -c conda-forge starship` | | _Any_ | [Linuxbrew] | `brew install starship` | | Alpine Linux 3.13+ | [Alpine Linux Packages] | `apk add starship` | | Arch Linux | [Arch Linux Extra] | `pacman -S starship` | | CentOS 7+ | [Copr] | `dnf copr enable atim/starship``dnf install starship` | | Debian 13+ | [Debian Main] | `apt install starship` | | Fedora 40+ | [Copr] | `dnf copr enable atim/starship`
`dnf install starship` | | Gentoo | [Gentoo Packages] | `emerge app-shells/starship` | | Manjaro | | `pacman -S starship` | | NixOS | [nixpkgs] | `nix-env -iA nixpkgs.starship` | | openSUSE | [OSS] | `zypper in starship` | | Ubuntu 25.04+ | [Ubuntu Universe] | `apt install starship` | | Void Linux | [Void Linux Packages] | `xbps-install -S starship` |
macOS
为你的系统安装最新版本: ``` curl -sS https://starship.rs/install.sh | sh ``` 或者,使用以下任意包管理器安装 Starship: | Repository | Instructions | | --------------- | --------------------------------------- | | **[crates.io]** | `cargo install starship --locked` | | [conda-forge] | `conda install -c conda-forge starship` | | [Homebrew] | `brew install starship` | | [MacPorts] | `port install starship` |Windows
使用 [releases section](https://github.com/starship/starship/releases/latest) 中的 MSI 安装程序为你的系统安装最新版本。 使用以下任意包管理器安装 Starship: | Repository | Instructions | | --------------- | --------------------------------------- | | **[crates.io]** | `cargo install starship --locked` | | [Chocolatey] | `choco install starship` | | [conda-forge] | `conda install -c conda-forge starship` | | [Scoop] | `scoop install starship` | | [winget] | `winget install --id Starship.Starship` |Bash
将以下内容添加到 `~/.bashrc` 的末尾: ``` eval "$(starship init bash)" ```Cmd
你需要在 Cmd 中使用 [Clink](https://chrisant996.github.io/clink/clink.html) (v1.2.30+)。 在路径 `%LocalAppData%\clink\starship.lua` 下创建一个文件,内容如下: ``` load(io.popen('starship init cmd'):read("*a"))() ```Elvish
将以下内容添加到 `~/.config/elvish/rc.elv`(Windows 上为 `%AppData%\elvish\rc.elv`)的末尾: ``` eval (starship init elvish) ``` 注意:仅支持 Elvish v0.18+。对于 v0.21.0 之前的 elvish 版本,配置文件路径可能是 `~/.elvish/rc.elv`Fish
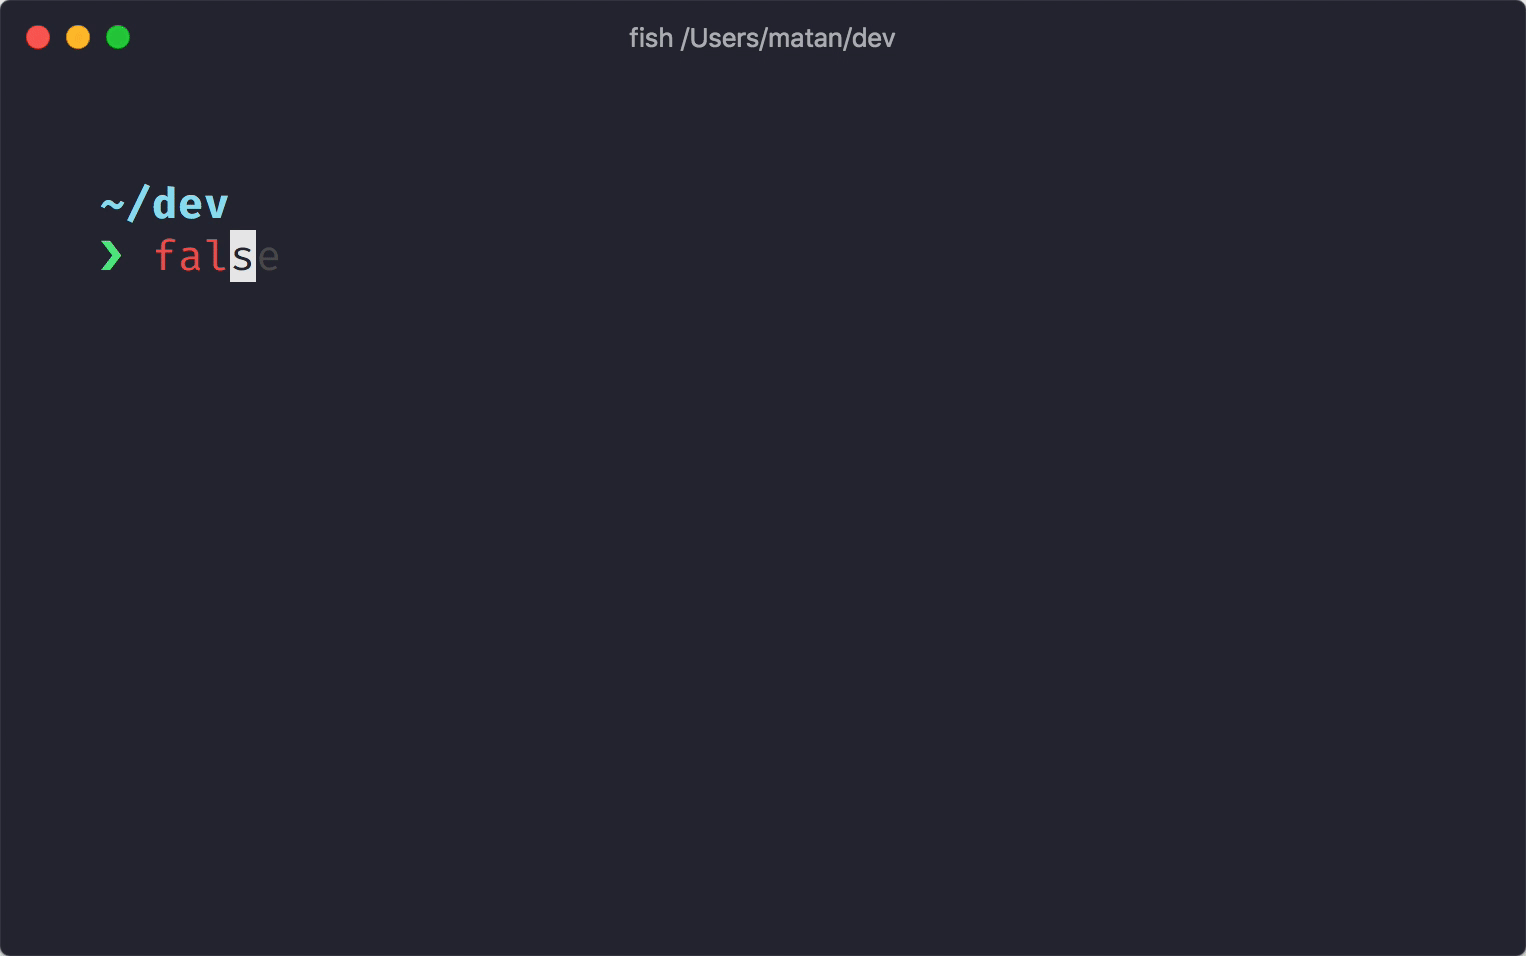
将以下内容添加到 `~/.config/fish/config.fish` 的末尾: ``` starship init fish | source ```Ion
将以下内容添加到 `~/.config/ion/initrc` 的末尾: ``` eval $(starship init ion) ```Nushell
将以下内容添加到你的 Nushell 配置文件的末尾(在 Nushell 中运行 `$nu.config-path` 查找它): ``` mkdir ($nu.data-dir | path join "vendor/autoload") starship init nu | save -f ($nu.data-dir | path join "vendor/autoload/starship.nu") ``` 注意:仅支持 Nushell v0.96+PowerShell
将以下内容添加到你的 PowerShell 配置文件的末尾(通过运行 `$PROFILE` 查找它): ``` Invoke-Expression (&starship init powershell) ```Tcsh
将以下内容添加到 `~/.tcshrc` 的末尾: ``` eval `starship init tcsh` ```Xonsh
将以下内容添加到 `~/.xonshrc` 的末尾: ``` execx($(starship init xonsh)) ```Zsh
将以下内容添加到 `~/.zshrc` 的末尾: ``` eval "$(starship init zsh)" ```

本项目基于 [ISC](https://github.com/starship/starship/blob/master/LICENSE) 许可证授权。
标签:Awesome, Bash, CLI, Fish, HTTP 参数枚举, IPv6, PowerShell, Prompt 自定义, Python安全, Rust, Shell 提示符, WiFi技术, Zsh, 可视化界面, 威胁情报, 开发者工具, 极简主义, 系统管理, 终端美化, 网络流量审计, 通知系统