JoshuSam/soc-lab-sysmon-splunk-log-ingestion
GitHub: JoshuSam/soc-lab-sysmon-splunk-log-ingestion
一个基于 Sysmon 和 Splunk 的 SOC 实验项目,演示 Windows 端点日志的收集、转发与分析全流程。
Stars: 0 | Forks: 0
# 🛡️ SOC Lab – 使用 Splunk 进行 Sysmon 日志收集与分析
## 📖 项目概述
本项目展示了一个实操性的安全运营中心 (SOC) 实验室,重点介绍如何使用 Sysmon 和 Splunk 收集和分析 Windows 端点遥测数据。
使用 Sysmon 生成了详细的 Windows 进程和系统活动日志。随后配置 Splunk Universal Forwarder,通过接收端口 9997 将 Sysmon Operational 事件通道发送至 Splunk Enterprise。
该项目展示了端点日志收集、forwarder 配置、Windows 事件摄取、XML 事件分析以及使用 Splunk 进行的基础威胁检测工作流。
## 📑 目录
- [项目概述](#-project-overview)
- [目标](#-objectives)
- [使用的技术](#️-technologies-used)
- [实验架构](#lab-architecture)
- [任务 1 – Splunk Enterprise 设置](#️-task-1--splunk-enterprise-setup)
- [任务 2 – 配置 Splunk 接收端口](#-task-2--configure-splunk-receiving-port)
- [任务 3 – Splunk Universal Forwarder 设置](#-task-3--splunk-universal-forwarder-setup)
- [任务 4 – Sysmon 事件收集配置](#️-task-4--sysmon-event-collection-configuration)
- [任务 5 – 验证 Sysmon 日志摄取](#-task-5--verify-sysmon-log-ingestion)
- [任务 6 – Sysmon 进程创建调查](#-task-6--sysmon-process-creation-investigation)
- [展示的技能](#-skills-demonstrated)
- [核心要点](#-key-takeaways)
- [参考](#-references)
- [许可证](#-license)
- [作者](#-author)
- [未来改进](#-future-improvements)
- [项目成果](#-project-outcome)
## 🎯 目标
本实验的主要目标是:
- 在 Windows 上安装和配置 Splunk Enterprise。
- 使 Splunk 能够在 TCP 端口 **9997** 上接收转发的数据。
- 安装和配置 Splunk Universal Forwarder。
- 将 Sysmon Operational 事件通道转发至 Splunk Enterprise。
- 验证 Universal Forwarder 和 Splunk 之间的连接。
- 确认 Sysmon 事件已成功索引在 `index=main` 中。
- 在 Splunk 中分析原始 Sysmon XML 事件。
- 过滤和调查 Sysmon Process Create 事件,包括 Event ID **1**。
- 积累有关端点遥测、日志摄取和基础 SOC 监控工作流的实践经验。
## 🛠️ 使用的技术
| 类别 | 技术 |
|----------|------------|
| 宿主操作系统 | Windows 11 |
| 端点遥测 | Sysmon |
| SIEM 平台 | Splunk Enterprise |
| 日志转发 | Splunk Universal Forwarder |
| Windows 日志源 | Microsoft-Windows-Sysmon/Operational |
| 传输端口 | TCP 9997 |
| 配置 | `inputs.conf` |
| 搜索语言 | Splunk 处理语言 |
## 🏗️ 实验架构
```
Windows 11 Endpoint
│
│ Sysmon generates endpoint telemetry
▼
Microsoft-Windows-Sysmon/Operational
│
│ Collected by Splunk Universal Forwarder
▼
Splunk Universal Forwarder
│
│ TCP 9997
▼
Splunk Enterprise
│
▼
Search, Filtering and Event Analysis
```
## 🖥️ 任务 1 – Splunk Enterprise 设置
### 目标
在 Windows 11 上安装 Splunk Enterprise,并验证可通过 Splunk Web 界面访问该 SIEM 平台。
### 执行的操作
- 在 Windows 11 主机上安装了 Splunk Enterprise。
- 创建了 Splunk 管理员账户。
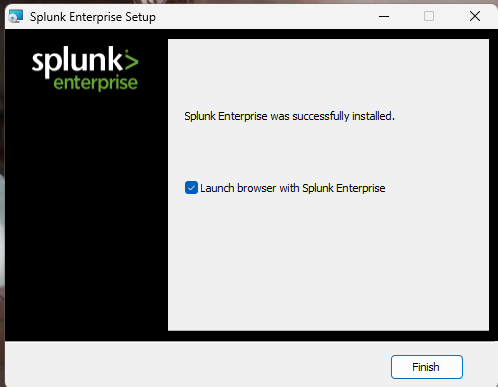
- 确认安装成功完成。
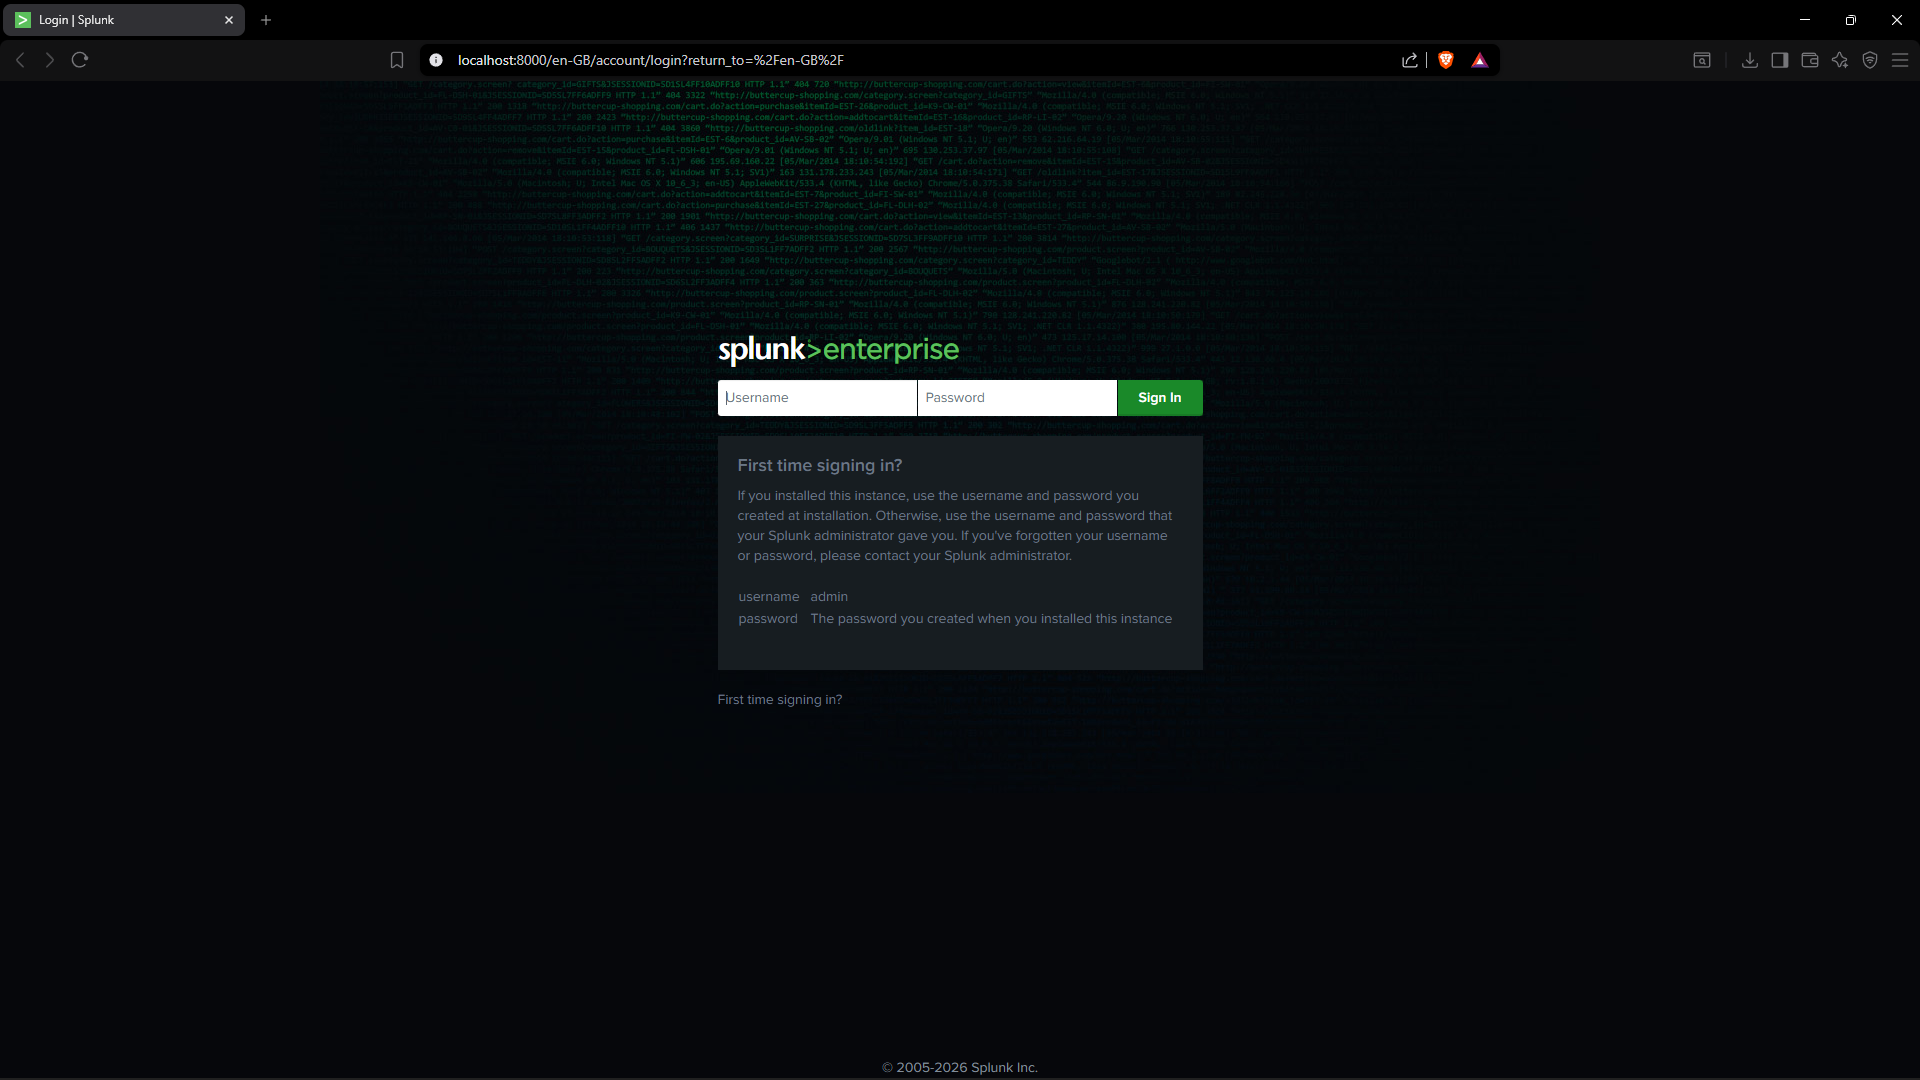
- 通过 `http://localhost:8000` 访问了 Splunk。
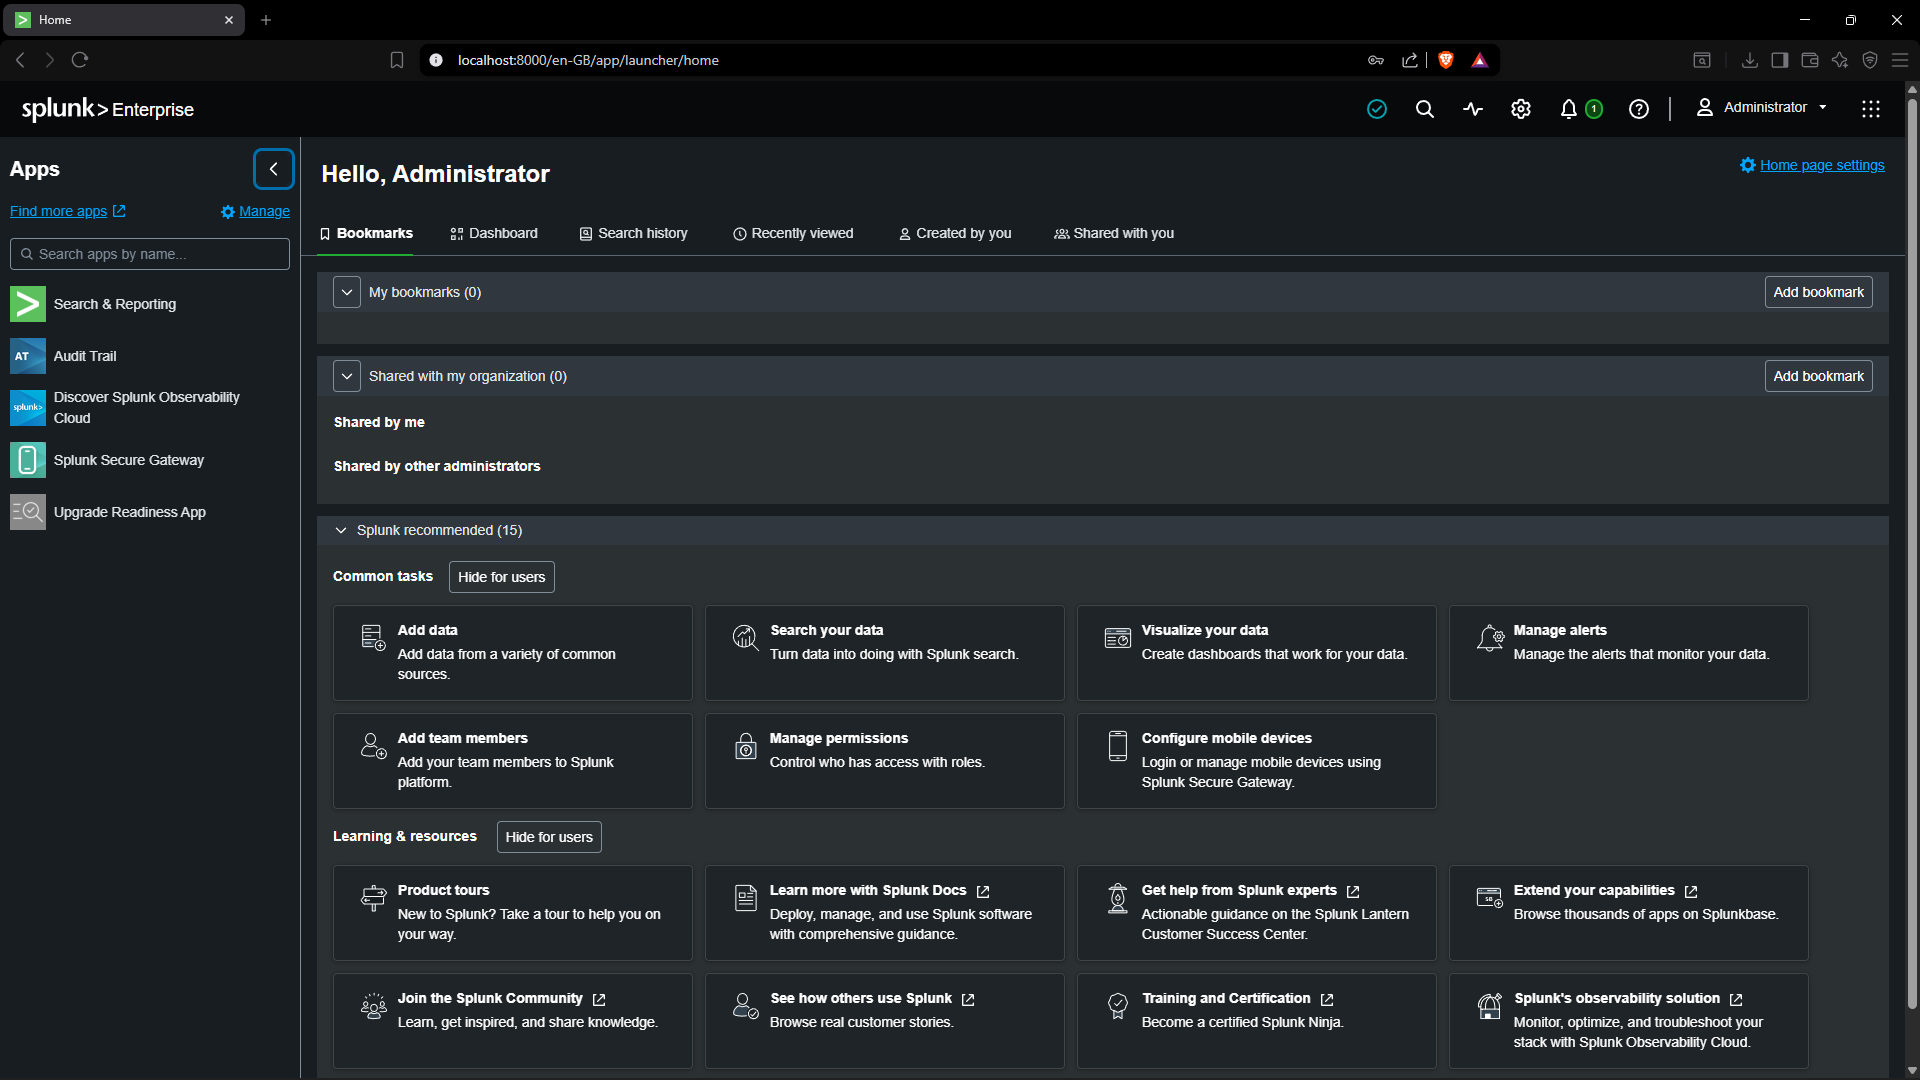
- 登录并验证 Splunk Enterprise 主页是否正确加载。
### 展示的技能
- Splunk Enterprise 安装
- Windows SIEM 设置
- 管理员账户配置
- Splunk Web 访问
- 基础服务验证
### 截图
#### Splunk Enterprise 安装完成
#### Splunk 登录页面
#### Splunk Enterprise 主页
## 🔌 任务 2 – 配置 Splunk 接收端口
### 目标
配置 Splunk Enterprise 以接收来自 Splunk Universal Forwarder 的转发数据。
### 执行的操作
- 在 Splunk Enterprise 中打开了 **Settings → Forwarding and Receiving**。
- 配置了新的接收端口。
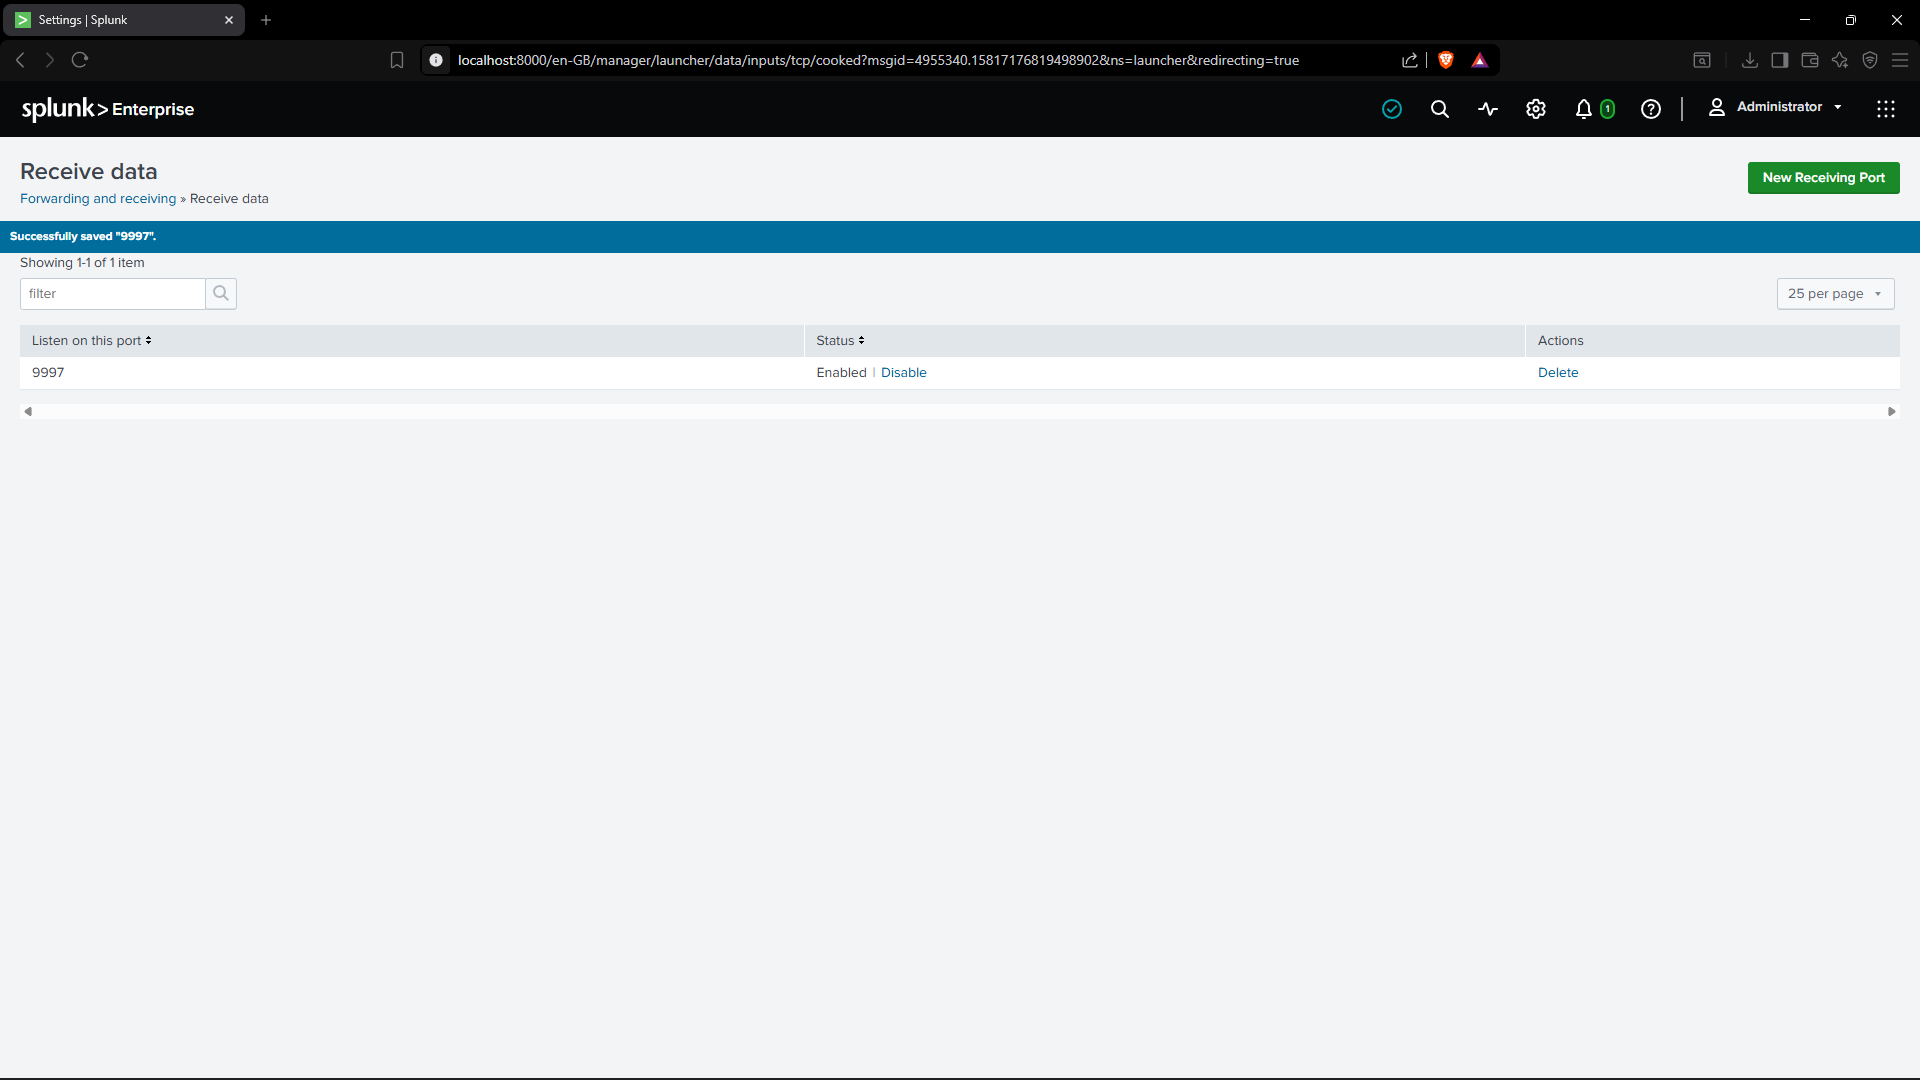
- 为转发的事件数据启用了 TCP 端口 **9997**。
- 验证了接收端口是否已成功创建并处于活动状态。
### 展示的技能
- Splunk Receiver 配置
- Forwarder 与 Indexer 的通信
- TCP 端口配置
- SIEM 数据摄取设置
### 截图
#### 接收端口 9997 已启用
## 📡 任务 3 – Splunk Universal Forwarder 设置
### 目标
在 Windows 上安装 Splunk Universal Forwarder,并将其配置为向 Splunk Enterprise 发送 Sysmon 事件数据。
### 执行的操作
- 在 Windows 11 上安装了 Splunk Universal Forwarder。
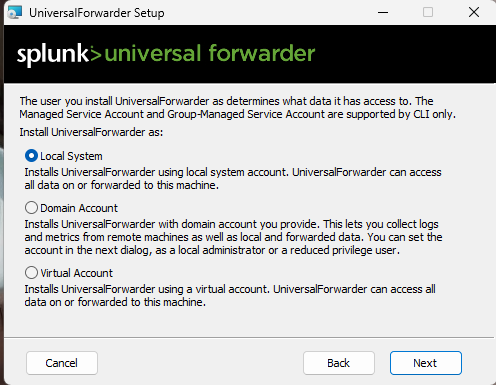
- 为 forwarder 服务选择了 **Local System** 账户。
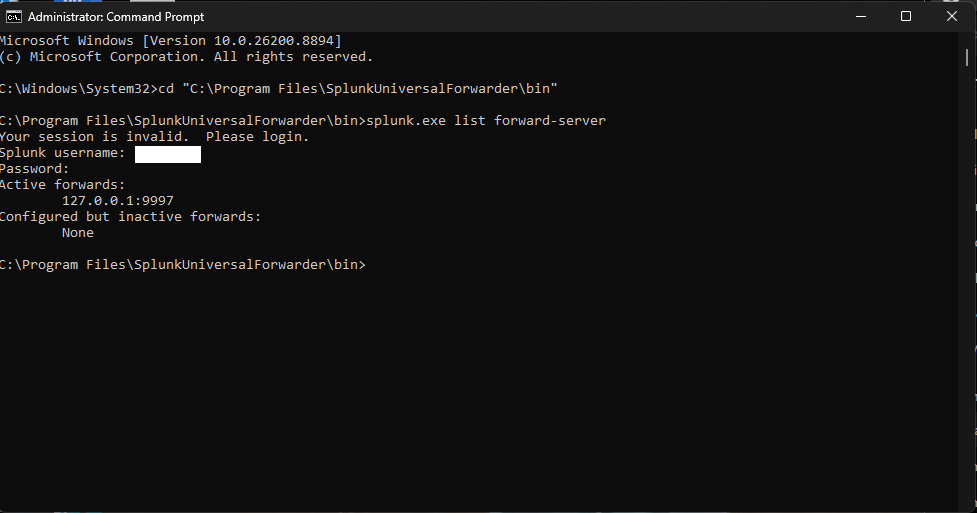
- 将接收 indexer 配置为 `127.0.0.1`。
- 将接收端口设置为 **9997**。
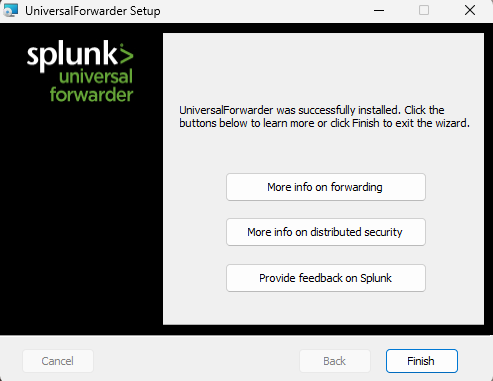
- 成功完成了 forwarder 的安装。
- 验证了 forwarder 是否已连接到 Splunk Enterprise。
### 展示的技能
- Splunk Universal Forwarder 安装
- Windows 服务账户配置
- Forwarder 与 Indexer 配置
- Localhost 网络通信
- 日志转发设置
### 截图
#### 选择 Local System 服务账户
#### Universal Forwarder 安装完成
#### 验证接收 Indexer 连接
## ⚙️ 任务 4 – Sysmon 事件收集配置
### 目标
配置 Splunk Universal Forwarder 以从 Sysmon Operational 日志中收集事件,并将其转发至 Splunk Enterprise。
### 执行的操作
- 打开了 Splunk Universal Forwarder 配置目录:
`C:\Program Files\SplunkUniversalForwarder\etc\system\local`
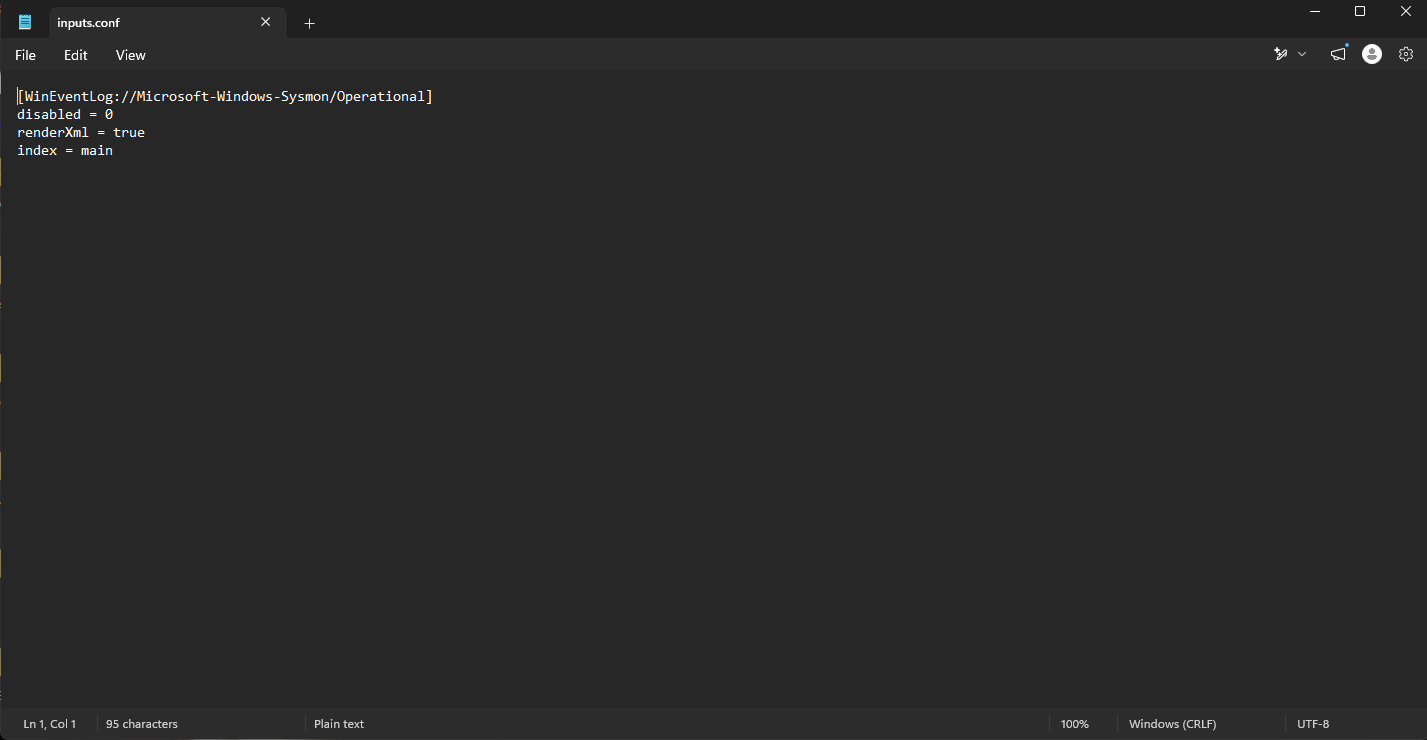
- 创建了 `inputs.conf` 文件。
- 添加了 Sysmon Operational 事件通道。
- 启用了 XML 渲染以获取详细的事件信息。
- 将事件配置为存储在 `main` 索引中。
- 重启了 Splunk Universal Forwarder 以应用配置。
### 配置
```
[WinEventLog://Microsoft-Windows-Sysmon/Operational]
disabled = 0
renderXml = true
index = main
```
### 展示的技能
- Splunk Input 配置
- Sysmon 事件收集
- Windows 事件日志监控
- XML 事件渲染
- Universal Forwarder 配置
- SIEM 日志摄取设置
### 截图
#### Sysmon `inputs.conf` 配置
## 🔍 任务 5 – 验证 Sysmon 日志摄取
### 目标
验证 Sysmon 事件是否由 Splunk Universal Forwarder 成功转发并索引至 Splunk Enterprise 中。
### 执行的操作
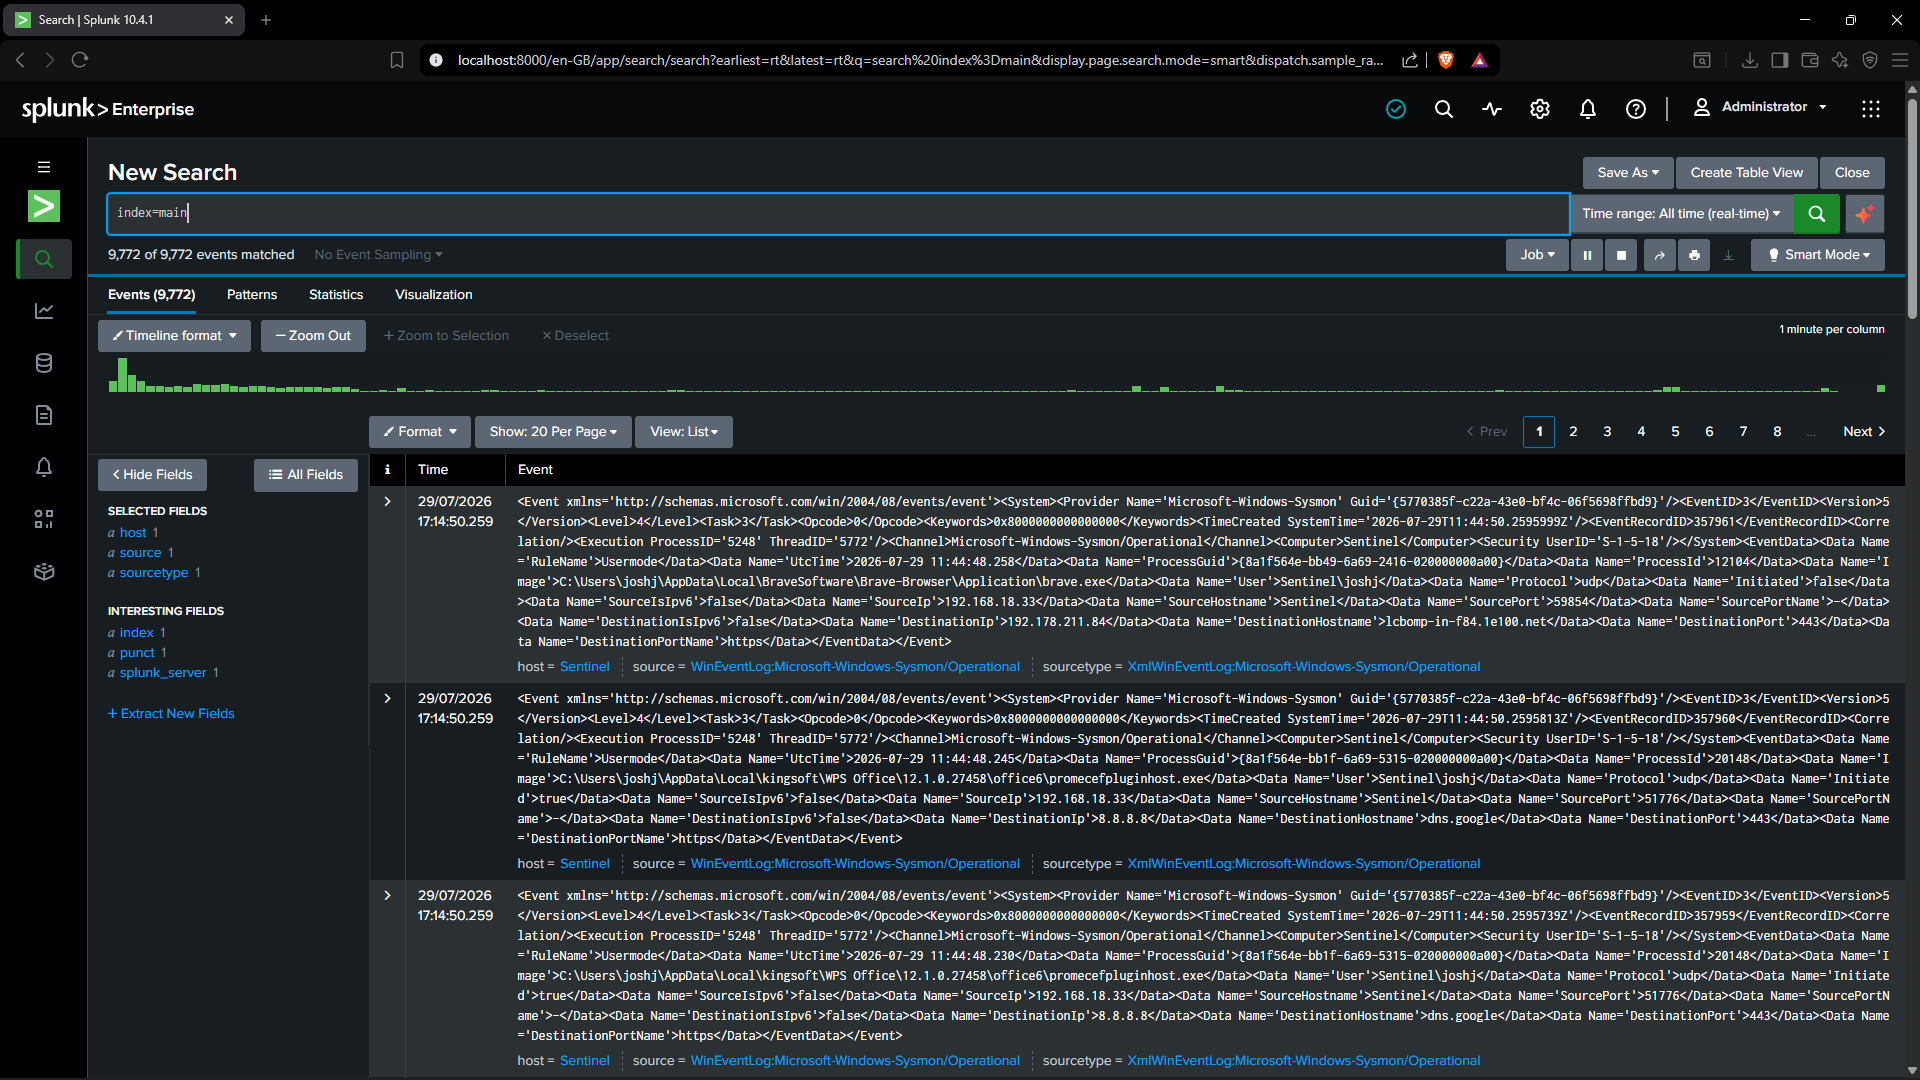
- 在 Splunk Enterprise 中打开了 **Search & Reporting**。
- 在 `main` 索引中搜索了传入的事件。
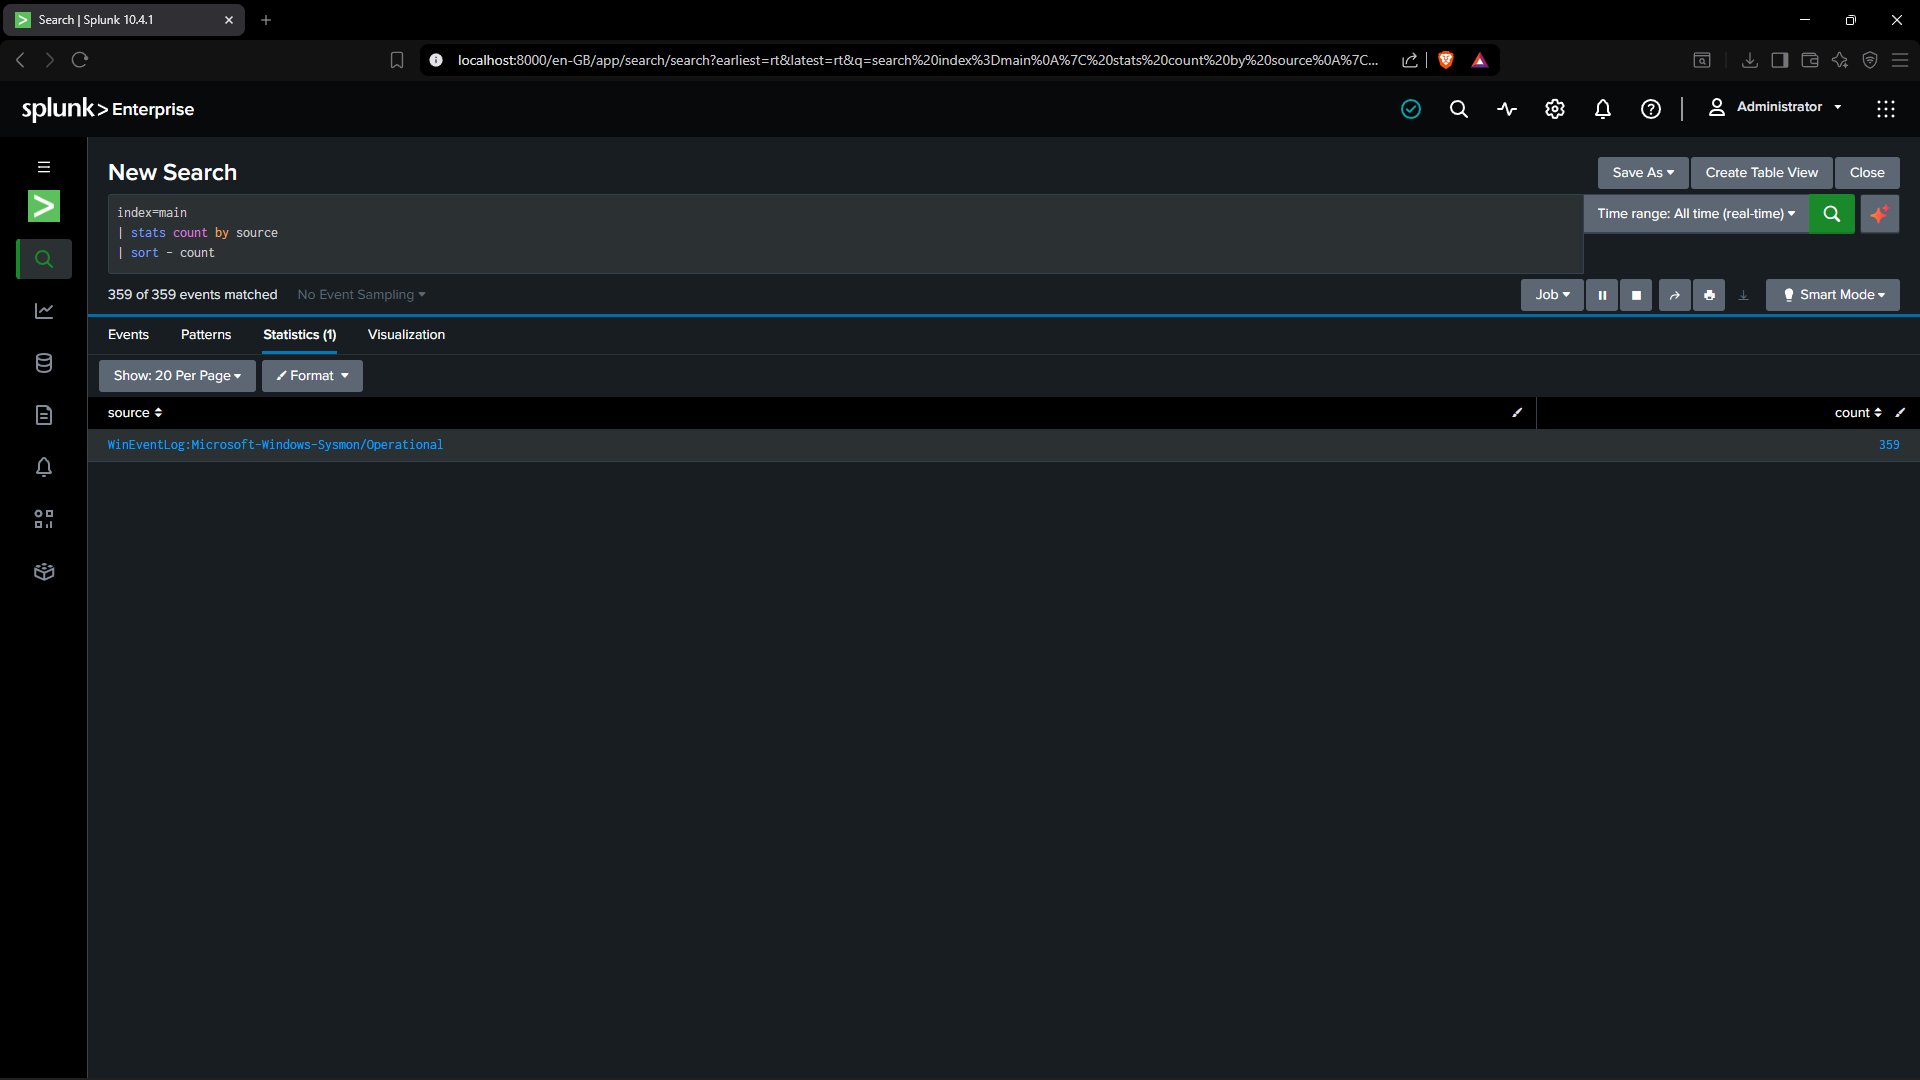
- 使用 SPL 查询来识别可用的事件源。
- 确认正在从以下位置接收事件:
`WinEventLog:Microsoft-Windows-Sysmon/Operational`
- 验证了 Sysmon 事件是否已成功索引。
- 打开了原始 XML 事件以检查详细的进程和网络活动。
### SPL 查询
```
index=main
| stats count by source
| sort - count
```
```
index=main source="WinEventLog:Microsoft-Windows-Sysmon/Operational"
```
### 展示的技能
- Splunk Search 和 Reporting
- SPL 查询
- 日志源验证
- Sysmon 事件分析
- Windows 端点监控
### 截图
#### Sysmon 源验证
#### Splunk 中的 Sysmon 事件
## 🧪 任务 6 – Sysmon 进程创建调查
### 目标
使用 Notepad 作为测试进程,在 Splunk 中生成并调查 Sysmon Process Create 事件。
### 执行的操作
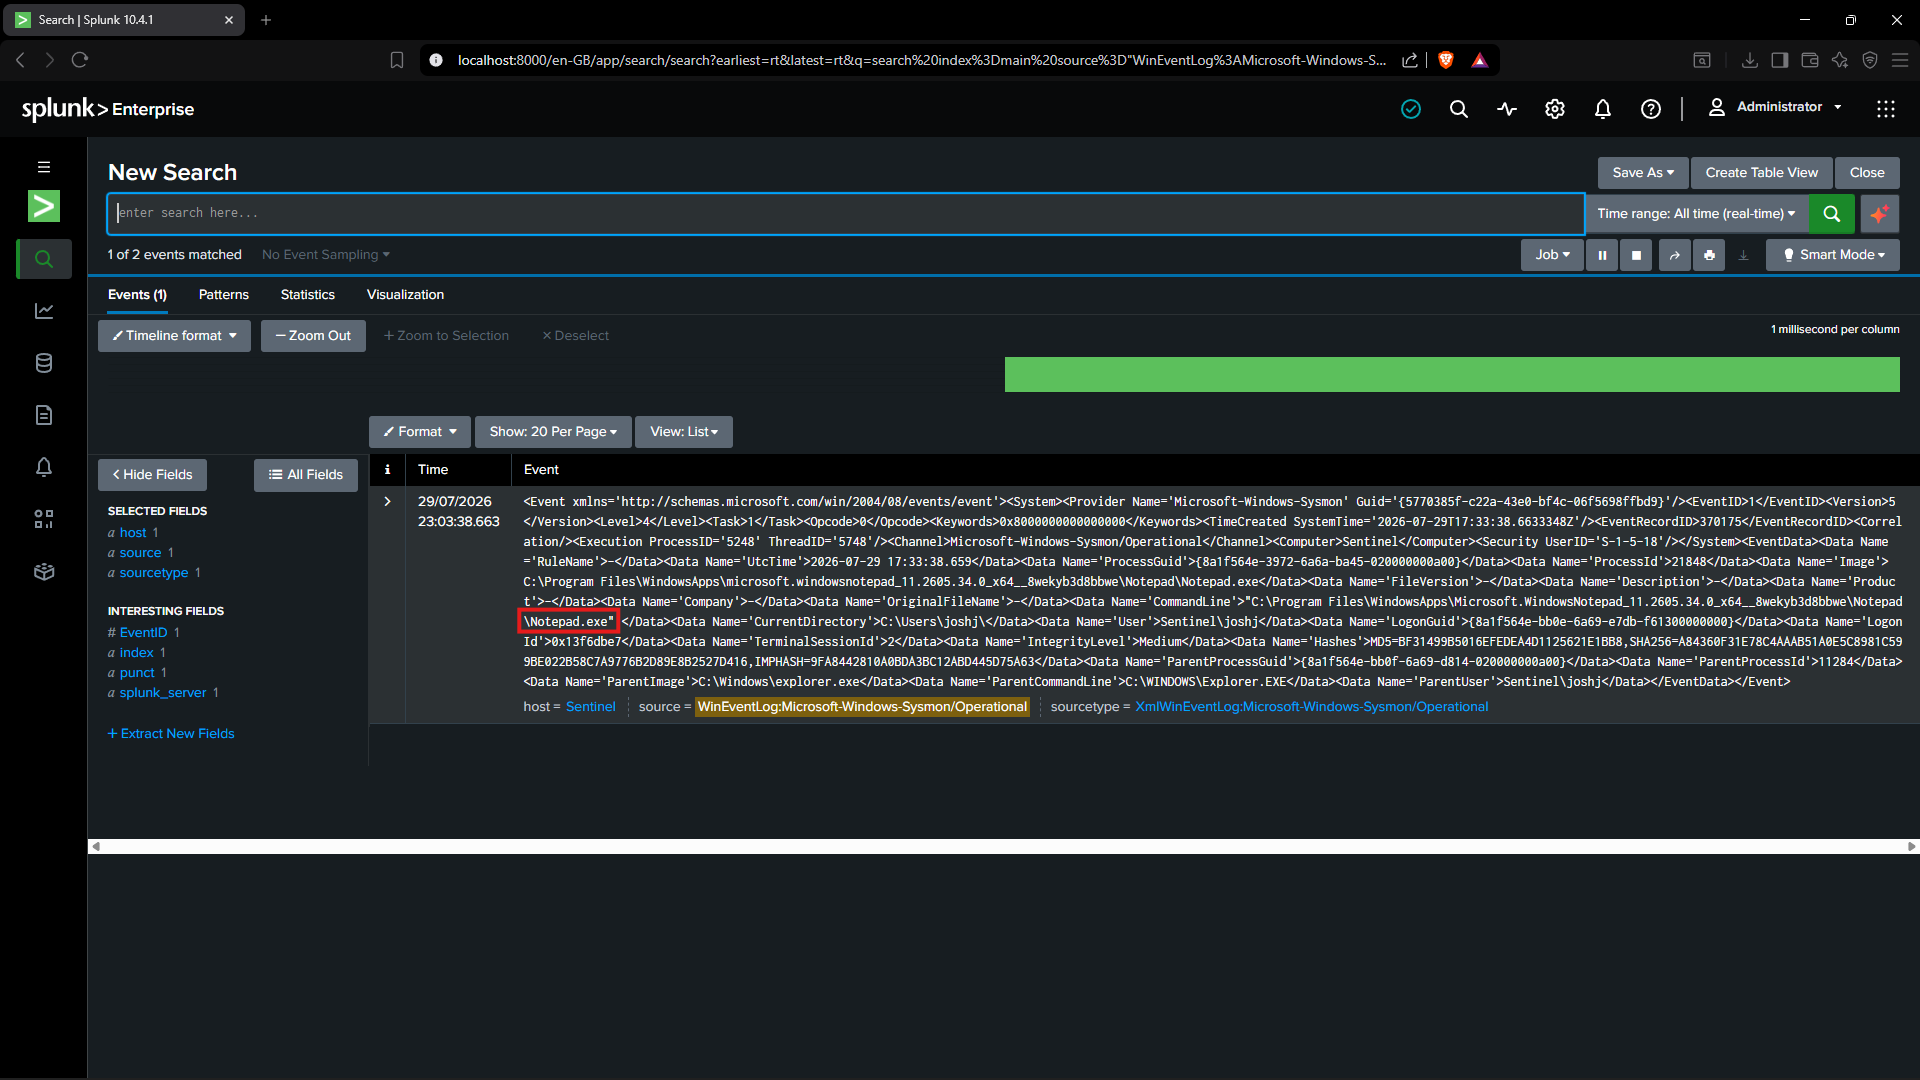
- 在 Windows 11 主机上打开了 Notepad 以生成新的进程事件。
- 等待 Sysmon 事件被转发和索引。
- 在 Splunk 中搜索了 Sysmon Operational 源。
- 在原始 XML 事件中识别出了 Notepad 进程。
- 确认该事件被记录为 Sysmon Event ID **1**。
- 查看了与进程相关的字段,包括:
- Image
- Process ID
- Parent Process ID
- Parent Image
- Command Line
- User
- Hashes
### SPL 查询
```
index=main source="WinEventLog:Microsoft-Windows-Sysmon/Operational"
| rex field=_raw "(?\d+) "
| search EventID=1 "*notepad.exe*"
```
### 展示的技能
- Sysmon Event ID 1 分析
- 进程创建调查
- SPL 字段提取
- 原始 XML 事件分析
- 端点活动监控
- 基础威胁狩猎
### 截图
#### Splunk 中的 Notepad 进程创建事件
## 🎓 展示的技能
- Splunk Enterprise 安装与配置
- Splunk Universal Forwarder 部署
- Sysmon 事件收集
- Windows 端点监控
- Windows 事件日志摄取
- TCP 端口 9997 配置
- `inputs.conf` 配置
- SPL 查询
- 日志源验证
- 原始 XML 事件分析
- Sysmon Event ID 1 调查
- 进程创建监控
- SIEM 故障排查
- 基础威胁狩猎
- SOC 监控工作流
## 📝 核心要点
该项目提供了收集 Windows 端点遥测数据、使用 Splunk Universal Forwarder 转发日志以及在 Splunk Enterprise 中分析 Sysmon 事件的实践经验。
该实验室展示了一个完整的 SOC 监控工作流:
1. 安装和配置 Splunk Enterprise。
2. 在 TCP 端口 9997 上启用接收。
3. 安装和配置 Splunk Universal Forwarder。
4. 通过 `inputs.conf` 配置 Sysmon 日志收集。
5. 验证日志摄取是否成功。
6. 使用 SPL 调查 Sysmon Process Create 事件。
完成此实验室巩固了我对 SIEM 架构、Windows 事件监控、端点遥测、日志转发、SPL 查询以及基础威胁狩猎的理解。
## 📚 参考
- [Splunk Enterprise 文档](https://docs.splunk.com/Documentation/Splunk)
- [Splunk Universal Forwarder 文档](https://docs.splunk.com/Documentation/Forwarder)
- [Microsoft Sysmon 文档](https://learn.microsoft.com/en-us/sysinternals/downloads/sysmon)
- [Splunk Windows 事件日志输入文档](https://docs.splunk.com/Documentation/Splunk/latest/Data/MonitorWindowseventlogdata)
## 📄 许可证
该项目基于 MIT 许可证授权。查看 `LICENSE` 文件以获取更多信息。
## 👨💻 作者
**Joshua Abraham Samuel**
有志成为 SOC 分析师 | 蓝队 | 网络安全爱好者
- LinkedIn: https://www.linkedin.com/in/joshuasamuel-soc
- GitHub: https://github.com/JoshuSam
## 🚀 未来改进
计划对该实验室进行的未来增强包括:
- 为可疑的进程活动创建 Splunk 警报。
- 为 Sysmon 事件监控构建仪表板。
- 编写用于 PowerShell 和命令行活动的额外 SPL 查询。
- 使用 Sysmon Event ID 3 监控网络连接。
- 使用 Sysmon Event ID 22 分析 DNS 查询。
- 将检测映射到 MITRE ATT&CK 框架。
- 通过更多端点检测场景扩展实验室。
## 📈 项目成果
该项目展示了一个使用 Sysmon、Splunk Universal Forwarder 和 Splunk Enterprise 的完整 Windows 端点监控工作流。
该实验室成功收集了 Sysmon 遥测数据,通过 TCP 端口 9997 转发了 Windows 事件数据,在 Splunk 中验证了摄取情况,并使用 SPL 调查了 Process Create 事件。
完成该项目巩固了我对 SIEM 部署、日志转发、Windows 事件监控、端点遥测以及初级 SOC 调查工作流的实践理解。
标签:AMSI绕过, Sysmon, 威胁检测, 安全运营, 扫描框架, 流量嗅探, 终端监控