MoonshotAI/kimi-cli
GitHub: MoonshotAI/kimi-cli
终端中的 AI 编码代理,帮助完成代码操作与终端命令的自动化规划执行。
Stars: 10460 | Forks: 1230
# Kimi CLI
[](https://github.com/MoonshotAI/kimi-cli/graphs/commit-activity)
[](https://github.com/MoonshotAI/kimi-cli/actions)
[](https://pypi.org/project/kimi-cli/)
[](https://pypistats.org/packages/kimi-cli)
[](https://deepwiki.com/MoonshotAI/kimi-cli)
[Kimi Code](https://www.kimi.com/code/) | [Documentation](https://moonshotai.github.io/kimi-cli/en/) | [文档](https://moonshotai.github.io/kimi-cli/zh/)
Kimi CLI 是一个在终端中运行的 AI agent,可帮助您完成软件开发任务和终端操作。它可以读取和编辑代码、执行 shell 命令、搜索和抓取网页,并在执行过程中自主规划和调整操作。
## 快速开始
有关如何安装并开始使用 Kimi CLI,请参阅[快速开始](https://moonshotai.github.io/kimi-cli/en/guides/getting-started.html)。
## 核心功能
### Shell 命令模式
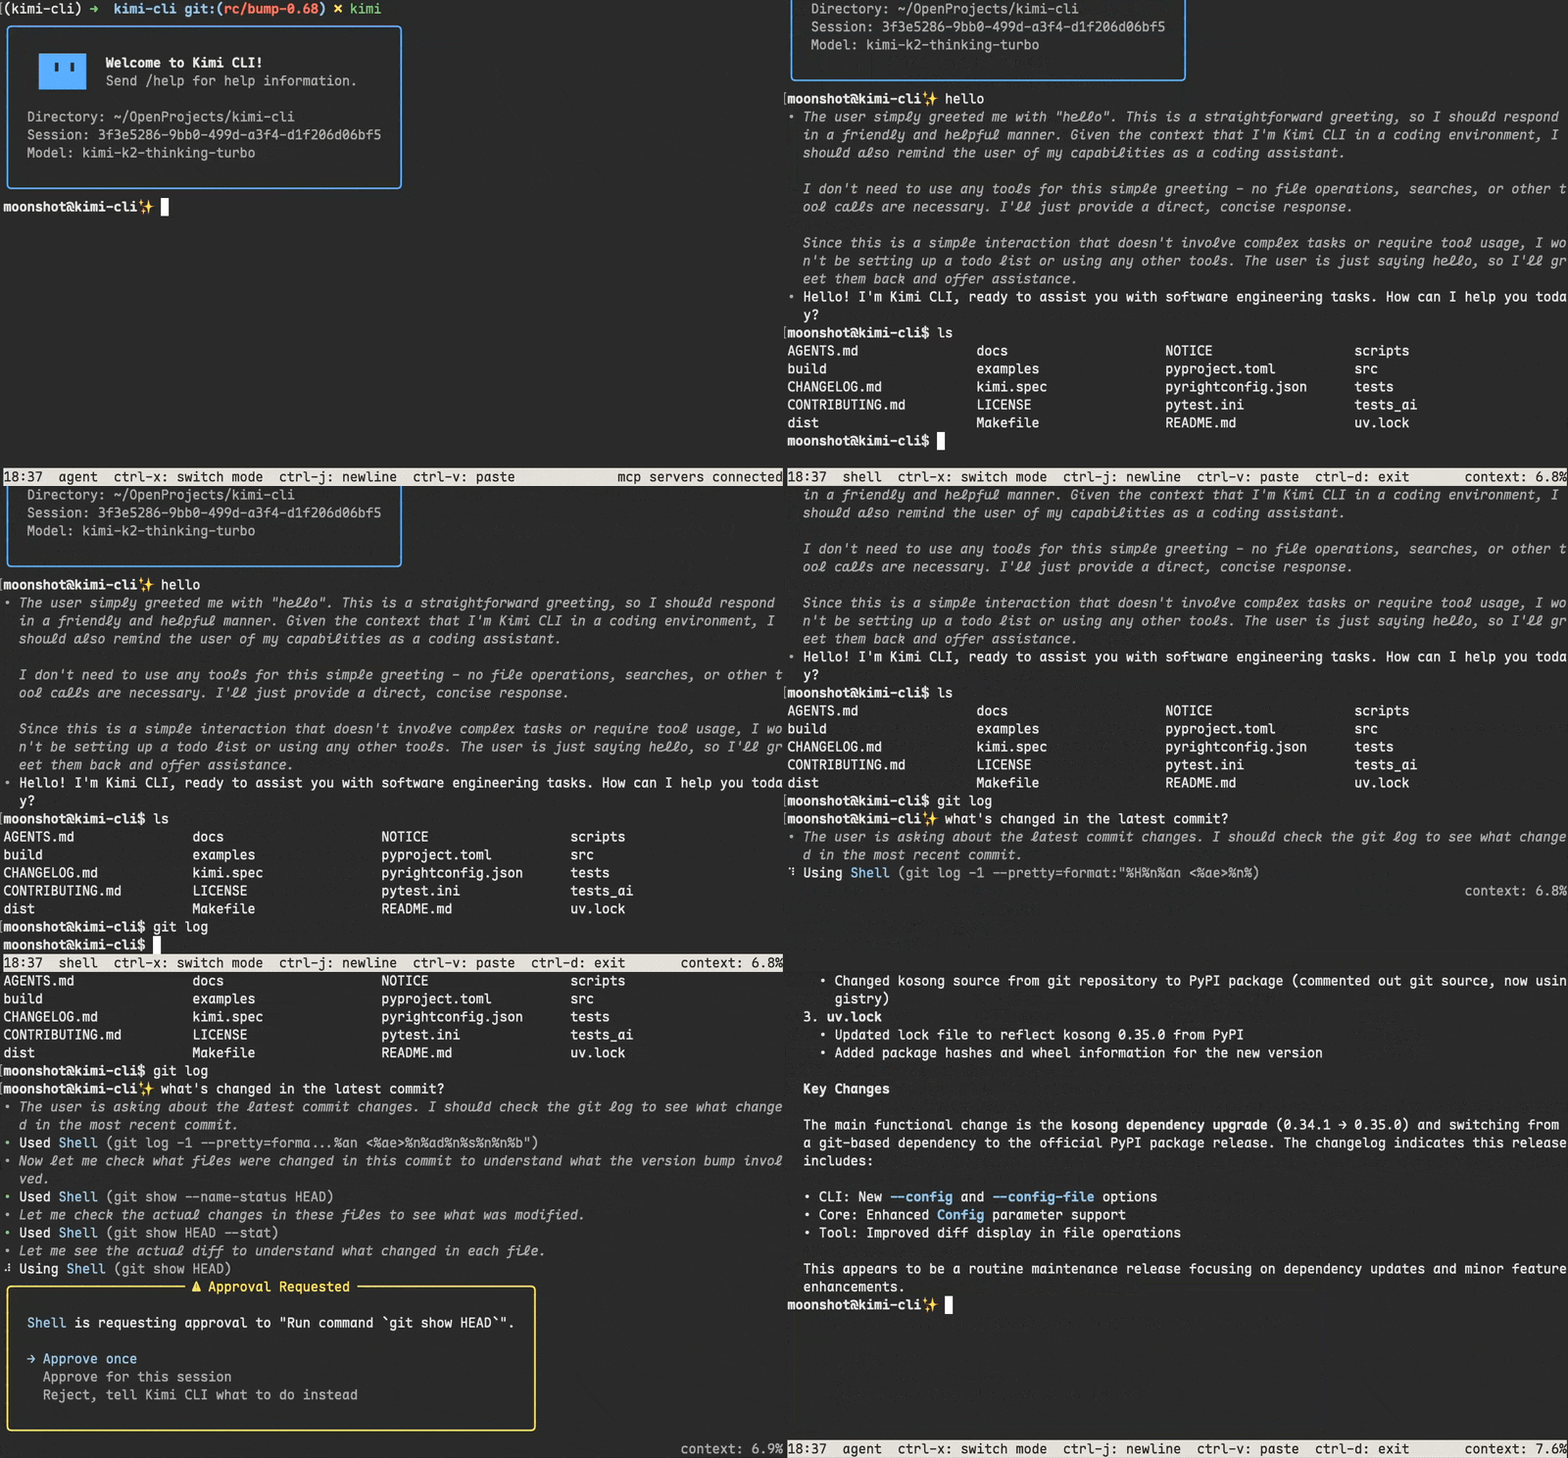
Kimi CLI 不仅是一个编码 agent,还是一个 shell。您可以通过按 `Ctrl-X` 来切换 shell 命令模式。在此模式下,您可以直接运行 shell 命令,而无需退出 Kimi CLI。
### VS Code 扩展
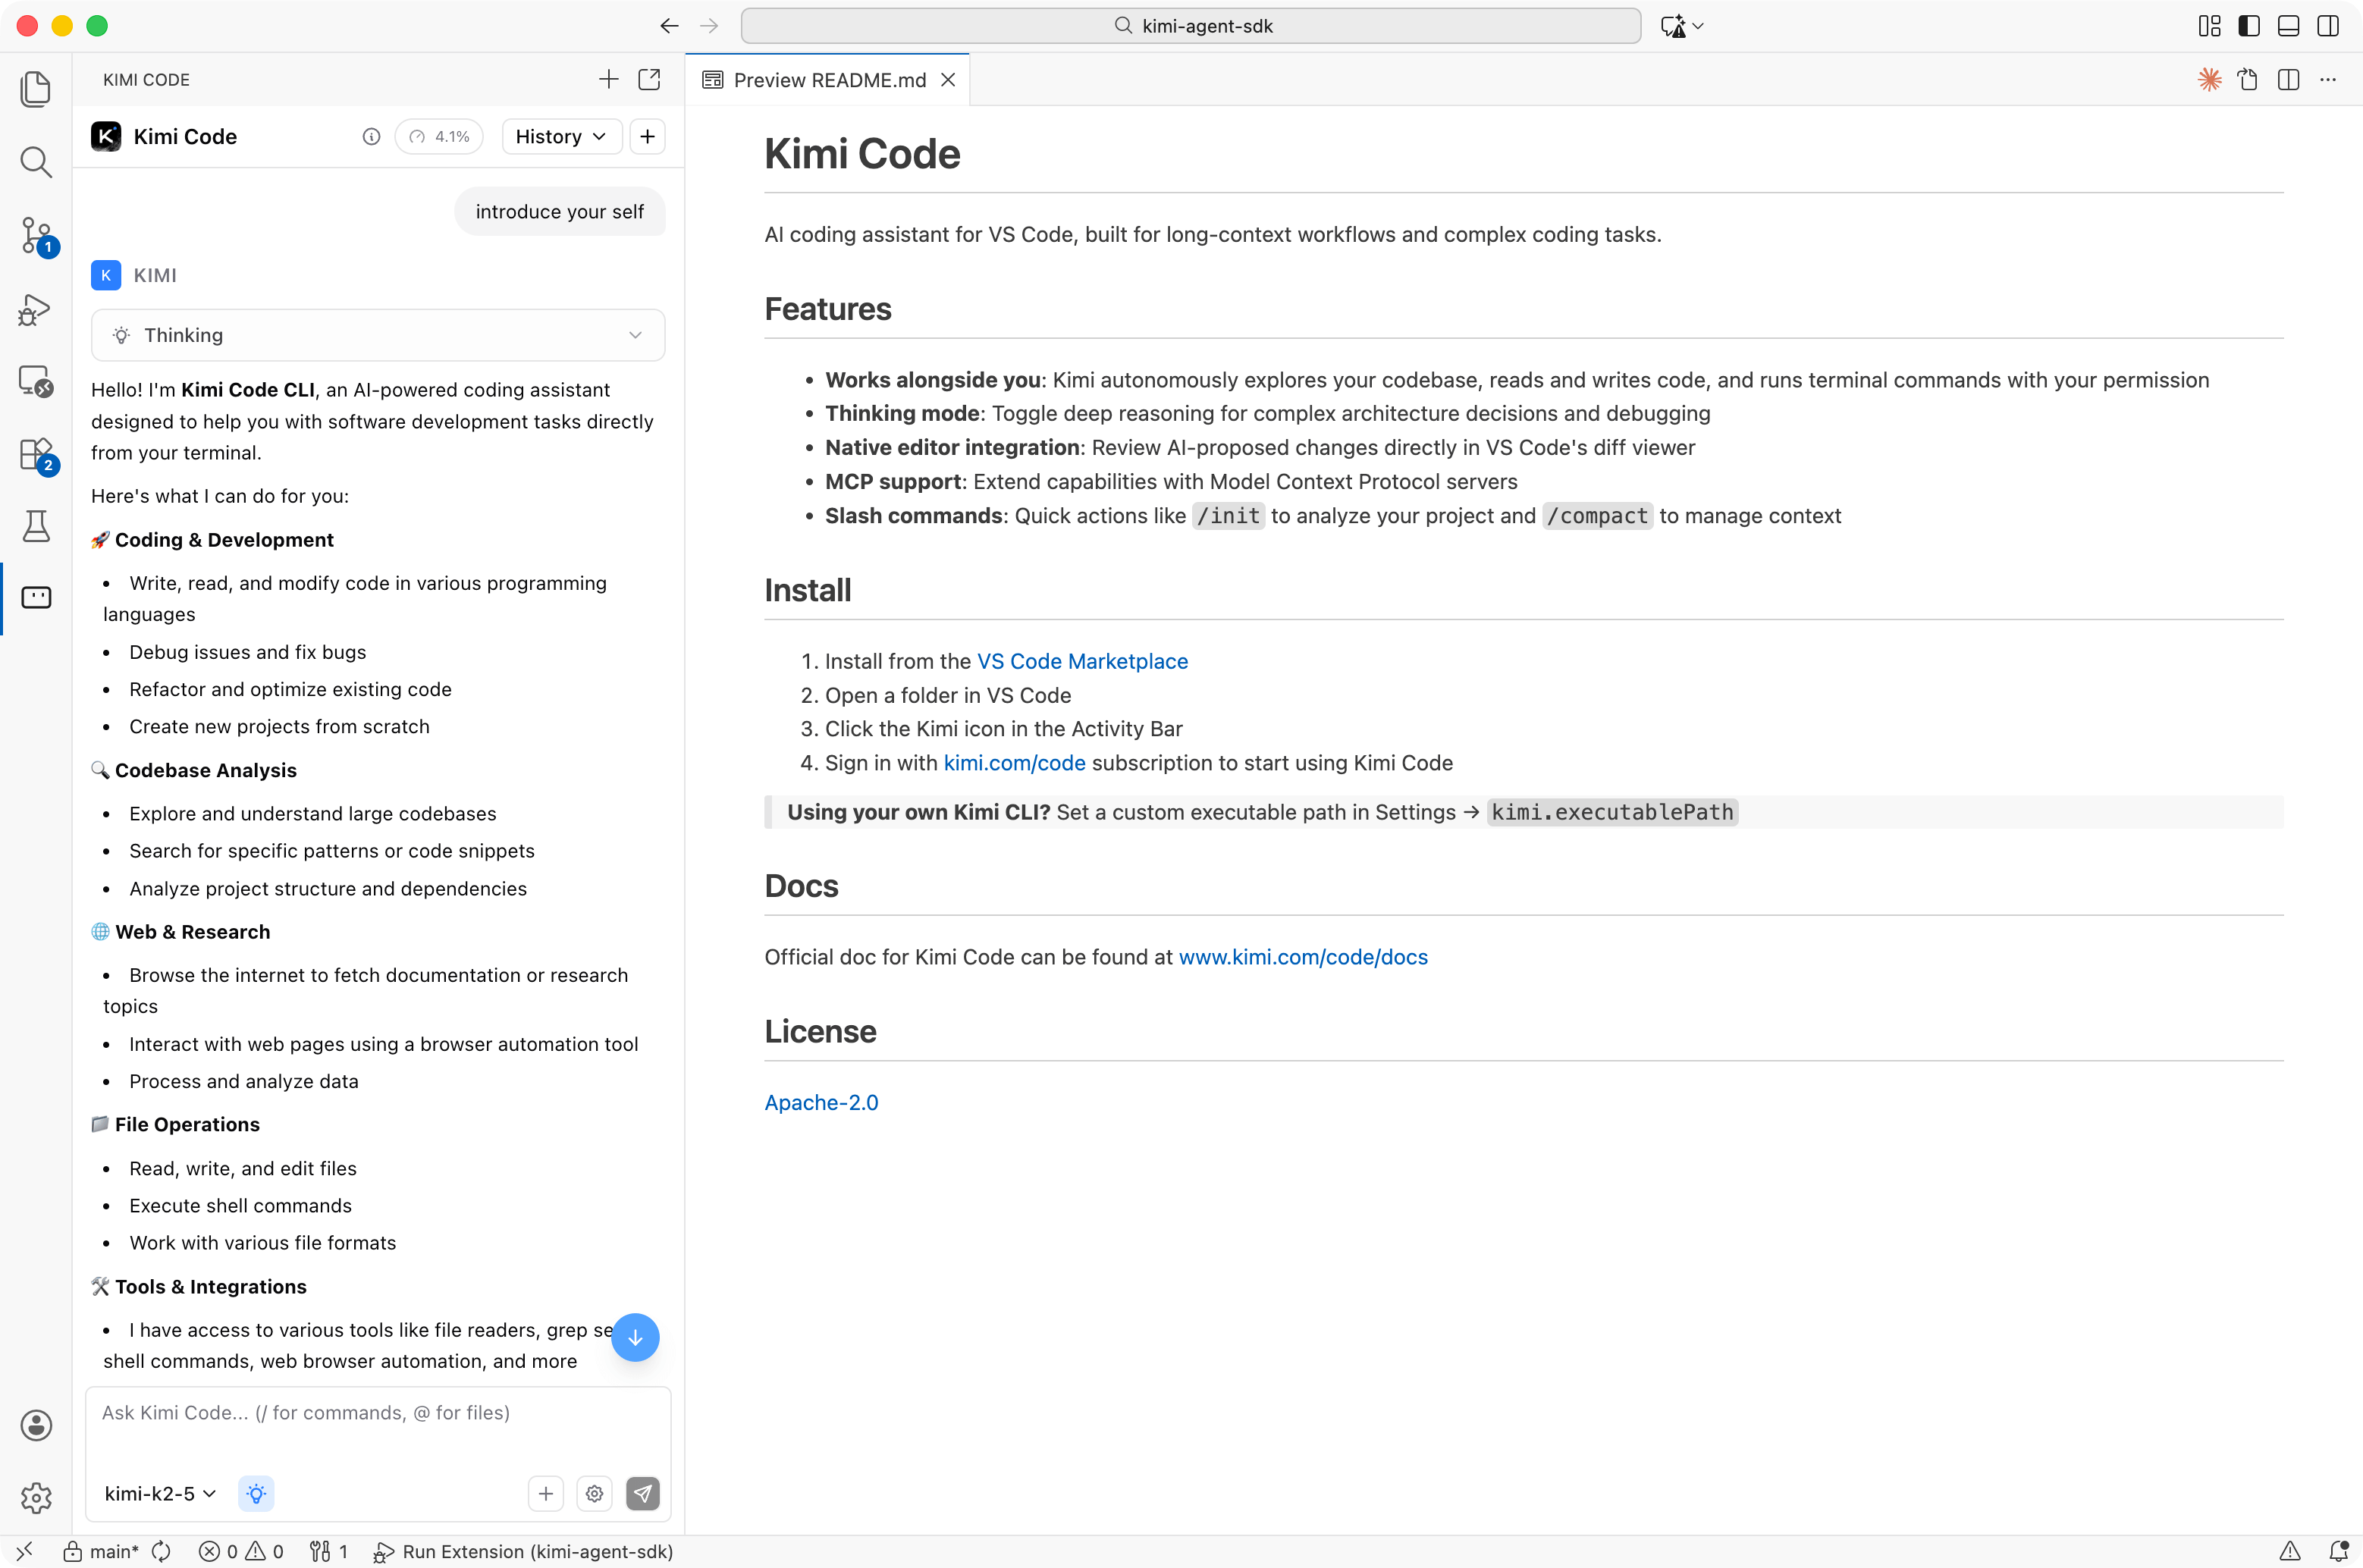
Kimi CLI 可以通过 [Kimi Code VS Code Extension](https://marketplace.visualstudio.com/items?itemName=moonshot-ai.kimi-code) 与 [Visual Studio Code](https://code.visualstudio.com/) 集成。
### 通过 ACP 进行 IDE 集成
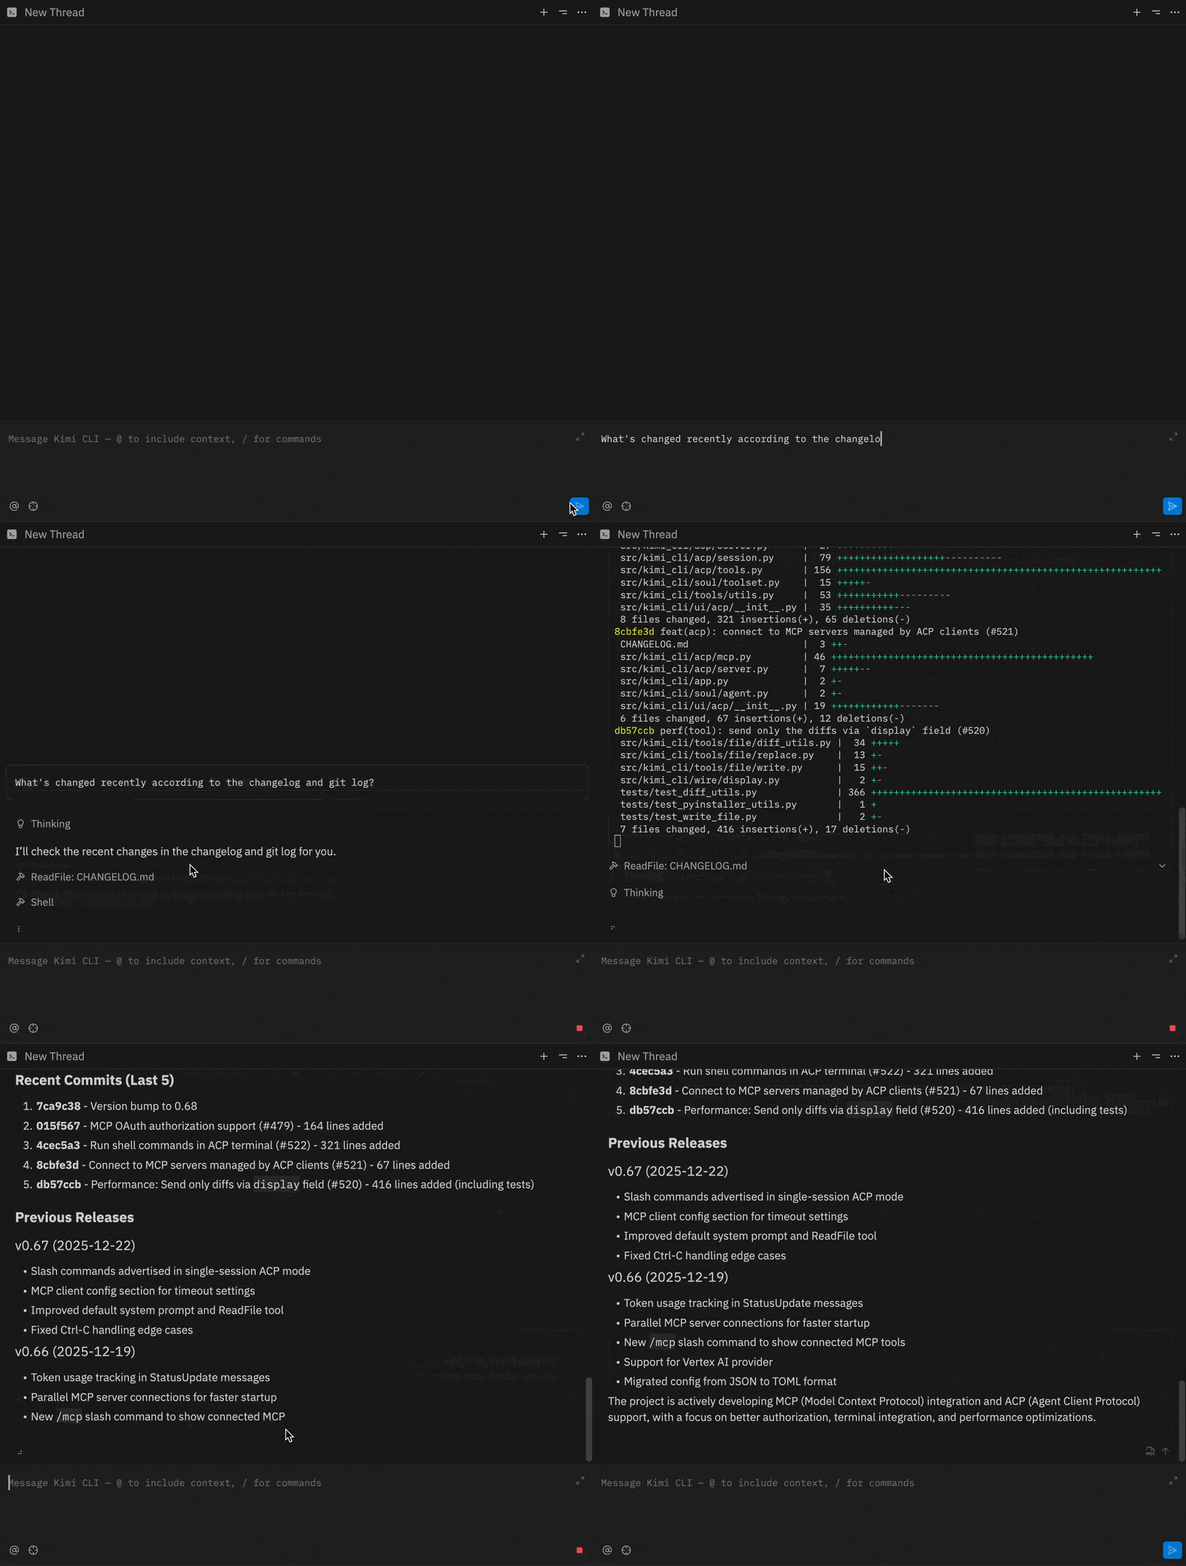
Kimi CLI 开箱即用地支持 [Agent Client Protocol]。您可以将它与任何兼容 ACP 的编辑器或 IDE 结合使用。
要在 ACP 客户端中使用 Kimi CLI,请确保先在终端中运行 Kimi CLI 并发送 `/login` 完成登录。然后,您可以配置 ACP 客户端,通过 `kimi acp` 命令将 Kimi CLI 作为 ACP agent 服务器启动。
例如,要在 [Zed](https://zed.dev/) 或 [JetBrains](https://blog.jetbrains.com/ai/2025/12/bring-your-own-ai-agent-to-jetbrains-ides/) 中使用 Kimi CLI,请将以下配置添加到您的 `~/.config/zed/settings.json` 或 `~/.jetbrains/acp.json` 文件中:
```
{
"agent_servers": {
"Kimi CLI": {
"type": "custom",
"command": "kimi",
"args": ["acp"],
"env": {}
}
}
}
```
然后,您就可以在 IDE 的 agent 面板中创建 Kimi CLI 会话了。
### Zsh 集成
您可以将 Kimi CLI 与 Zsh 结合使用,利用 AI agent 的能力增强您的 shell 体验。
通过以下方式安装 [zsh-kimi-cli](https://github.com/MoonshotAI/zsh-kimi-cli) 插件:
```
git clone https://github.com/MoonshotAI/zsh-kimi-cli.git \
${ZSH_CUSTOM:-~/.oh-my-zsh/custom}/plugins/kimi-cli
```
然后在 `~/.zshrc` 的 Zsh 插件列表中添加 `kimi-cli`:
```
plugins=(... kimi-cli)
```
重启 Zsh 后,您可以按 `Ctrl-X` 切换到 agent 模式。
### MCP 支持
Kimi CLI 支持 MCP (Model Context Protocol) 工具。
**`kimi mcp` 子命令组**
您可以使用 `kimi mcp` 子命令组来管理 MCP 服务器。例如:
```
# 添加 streamable HTTP server:
kimi mcp add --transport http context7 https://mcp.context7.com/mcp --header "CONTEXT7_API_KEY: ctx7sk-your-key"
# 添加带 OAuth authorization 的 streamable HTTP server:
kimi mcp add --transport http --auth oauth linear https://mcp.linear.app/mcp
# 添加 stdio server:
kimi mcp add --transport stdio chrome-devtools -- npx chrome-devtools-mcp@latest
# 列出已添加的 MCP server:
kimi mcp list
# 移除一个 MCP server:
kimi mcp remove chrome-devtools
# 授权一个 MCP server:
kimi mcp auth linear
```
**临时 MCP 配置**
Kimi CLI 还支持通过 CLI 选项进行临时的 MCP 服务器配置。
假设有一个采用标准 MCP 配置格式的 MCP 配置文件,如下所示:
```
{
"mcpServers": {
"context7": {
"url": "https://mcp.context7.com/mcp",
"headers": {
"CONTEXT7_API_KEY": "YOUR_API_KEY"
}
},
"chrome-devtools": {
"command": "npx",
"args": ["-y", "chrome-devtools-mcp@latest"]
}
}
}
```
使用 `--mcp-config-file` 选项运行 `kimi` 以连接到指定的 MCP 服务器:
```
kimi --mcp-config-file /path/to/mcp.json
```
### 更多
请在[文档](https://moonshotai.github.io/kimi-cli/en/)中查看更多功能。
## 开发
要开发 Kimi CLI,请运行:
```
git clone https://github.com/MoonshotAI/kimi-cli.git
cd kimi-cli
make prepare # prepare the development environment
```
然后您就可以开始进行 Kimi CLI 的开发了。
在您进行更改后,请参考以下命令:
```
uv run kimi # run Kimi CLI
make format # format code
make check # run linting and type checking
make test # run tests
make test-kimi-cli # run Kimi CLI tests only
make test-kosong # run kosong tests only
make test-pykaos # run pykaos tests only
make build-web # build the web UI and sync it into the package (requires Node.js/npm)
make build # build python packages
make build-bin # build standalone binary
make help # show all make targets
```
注意:`make build` 和 `make build-bin` 会自动运行 `make build-web` 以嵌入 Web UI。
标签:AI编程助手, IDE插件, SOC Prime, 命令行工具, 开发工具, 智能体, 网络调试, 自动化