marcaldana/nmap-threatwatch-lab
GitHub: marcaldana/nmap-threatwatch-lab
一个基于 Python 和 Nmap 的网络安全教学实验,通过解析扫描结果并映射 CVSS/CVE 来模拟基本的威胁检测流程。
Stars: 0 | Forks: 0
## 📌 项目总结
本实验室展示了使用 Nmap 和 Python 模拟真实世界威胁检测的网络安全实操流程。它包含一个自定义的 XML 解析器,用于提取扫描数据、将服务映射到 CVSS 分数和 CVE,并标记未匹配的服务以供将来分析。该实验室专为可重复性、清晰的文档说明以及作品集展示效果而设计。
# nmap-threatwatch-lab
基于 Python 的 Nmap 实验室,用于端口扫描、服务检测和 XML 解析。专为 Security+ 学习、ThreatWatch 集成以及作品集展示而构建。
本实验室使用 Nmap 和 Python 模拟了基本的威胁检测工作流。它扫描活动的 HTTP 服务,解析 XML 输出,并提取主机状态、端口状态和服务信息。其目标是构建一个可重复的、足以展示给招聘者的网络安全项目。
## 🖥️ 环境与工具
本实验室基于以下环境构建并测试:
* **操作系统:** Kali Linux(VMware Workstation 上的虚拟机)
* **语言:** Python 3.11
* **网络扫描器:** Nmap 7.95
* **目标:** Localhost (127.0.0.1)
## 🔧 实验流程
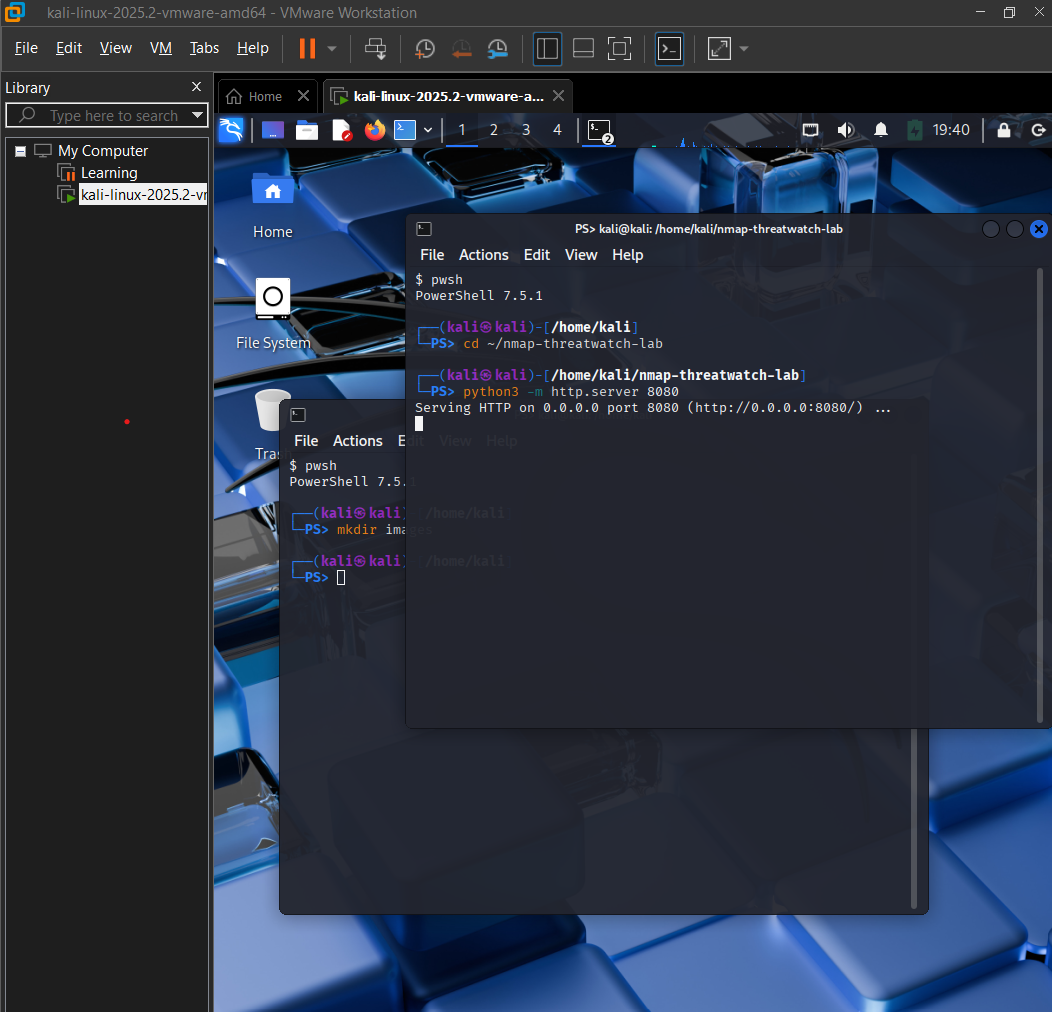
### 1. 在 8080 端口启动 Python HTTP Server
我们启动一个本地环境服务作为我们的目标。
```
python3 -m http.server 8080
```
#### 📸 服务初始化
### 2. 运行 Nmap 扫描并将输出保存为 XML
我们针对本地服务执行定向扫描,并导出原始数据结构。
```
nmap -sS -sV -O -p 8080 -oX scan8080.xml 127.0.0.1
```
#### 🛠️ 命令语法解析:
* `nmap`:启动网络发现引擎。
* `-sS`:执行 TCP SYN 隐身扫描。
* `-sV`:启用服务版本检测以识别目标软件字符串。
* `-O`:启用 OS 指纹识别以确定主机平台架构。
* `-p 8080`:将扫描范围限制为我们的活动测试端口。
* `-oX scan8080.xml`:将扫描结果直接输出为结构化的 XML 格式,以便进行程序化分析。
#### 📸 网络扫描捕获
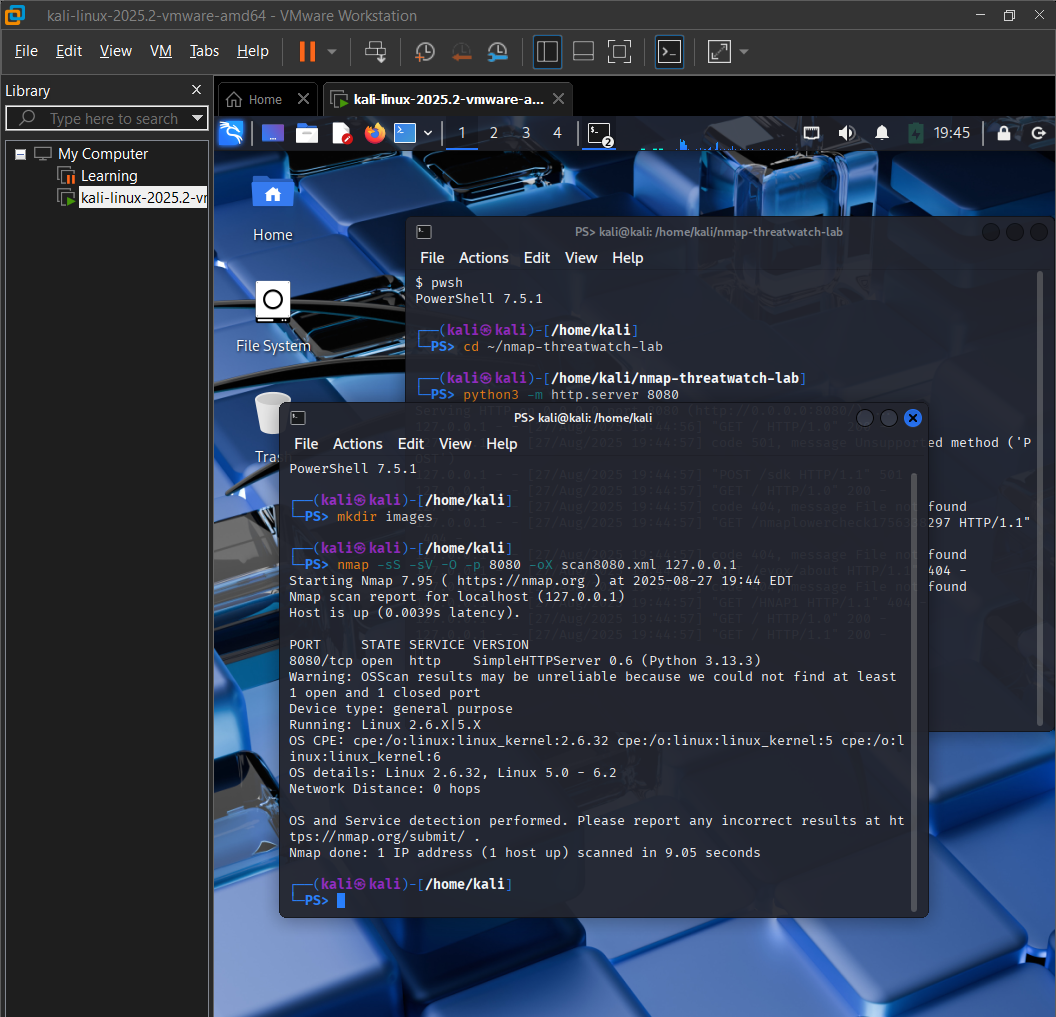
📁 **为什么此扫描有用:** 它针对活动的环境控制资产,输出可预测的遥测数据,并复现企业级的诊断流程,同时没有留下运营足迹的风险。
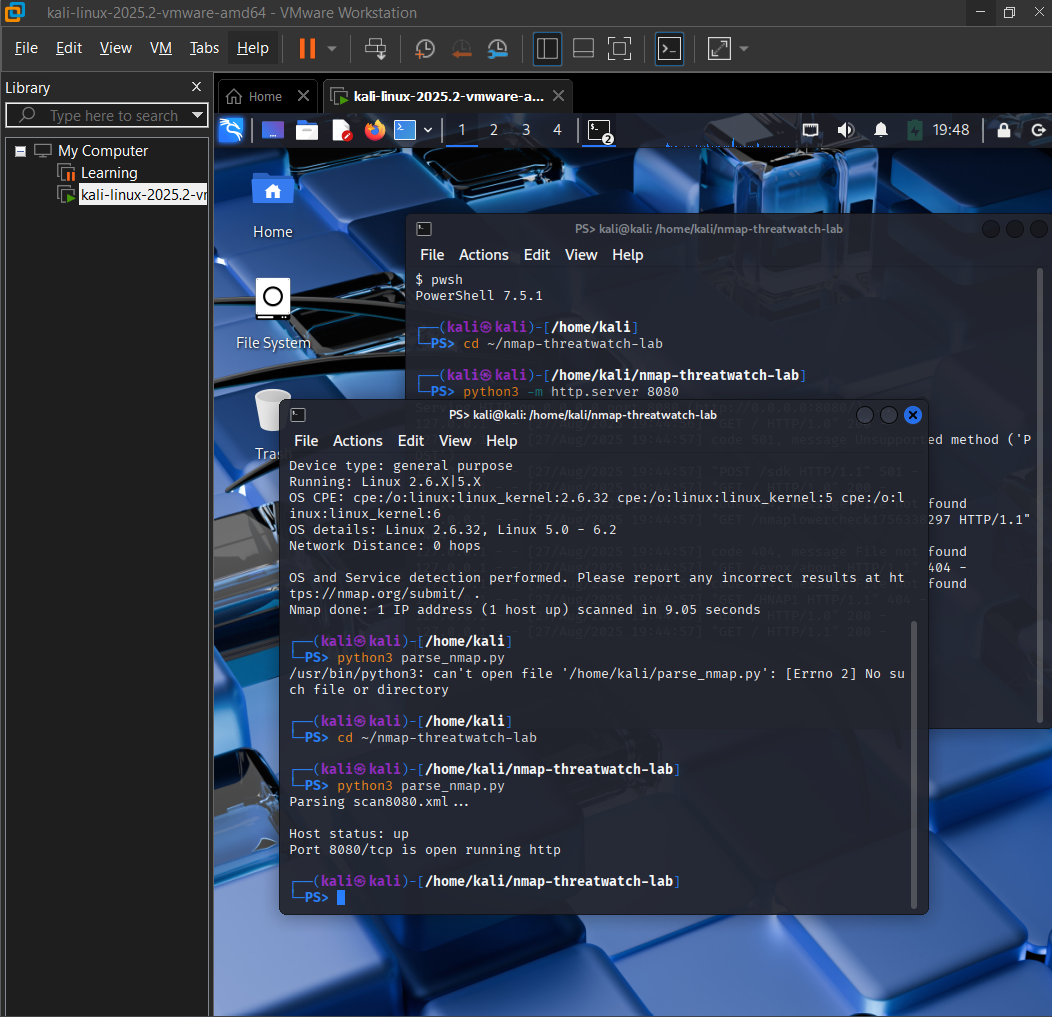
### 3. 使用 Python 解析 XML 数据引擎
**命令:** `cd ~/nmap-threatwatch-lab`
#### 🧠 此步骤的重要性
* 确保脚本在专用的实验室目录内执行。
* 允许 Python 脚本在本地定位扫描文件和输出文件夹。
* 保持您的工作流有条理且可重复。
**命令:** `python3 nmap_threatwatch.py`
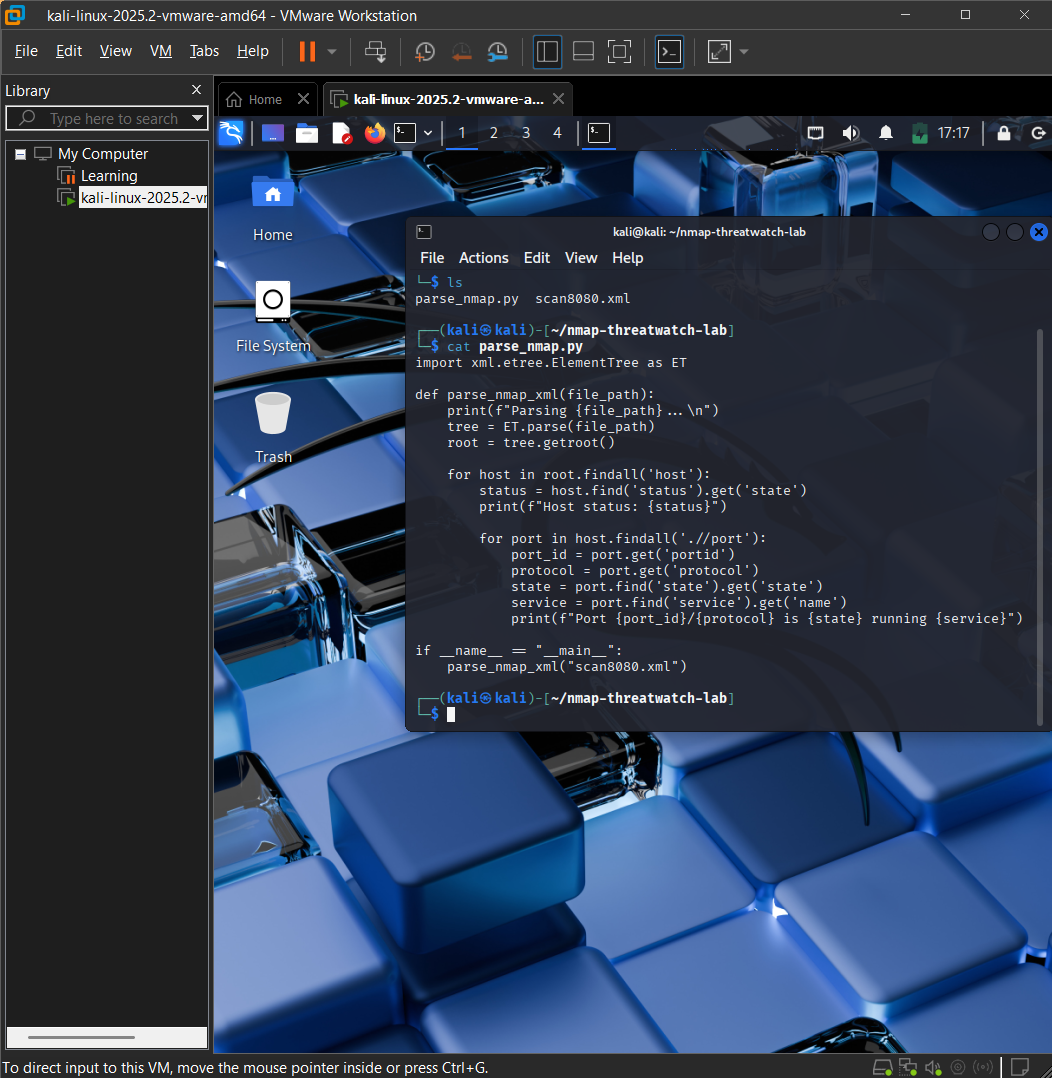
#### 🧠 脚本的实际作用
* **打开 Nmap XML 文件:** 读取 `scan8080.xml` 以访问原始扫描结果。
* **解析 XML 结构:** 使用 `xml.etree.ElementTree` 模块提取关键安全数据:
* 主机状态(例如,up/down)
* 端口号和协议(例如,8080/tcp)
* 服务名称和版本(例如,http,Python HTTP server)
* **分析威胁数据:** 根据严重级别极高的 CVE 标准评估服务细节,并直接在终端中标记风险指标。
#### 📸 解析脚本执行
以下是 Python 解析器的执行过程,显示了从 Nmap 扫描中提取的数据点:
### 4. 终端输出示例
```
Parsing scan8080.xml...
Host status: up
Port 8080/tcp is open running http -> CVSS Score: 8.2 (High) - CVE-2022-12345
Unmatched services:
* rpcbind
* netbios-ssn
```
#### 📸 模拟威胁检测验证
以下是验证控制台,展示了代码逻辑如何处理数据并对严重性级别进行分类:
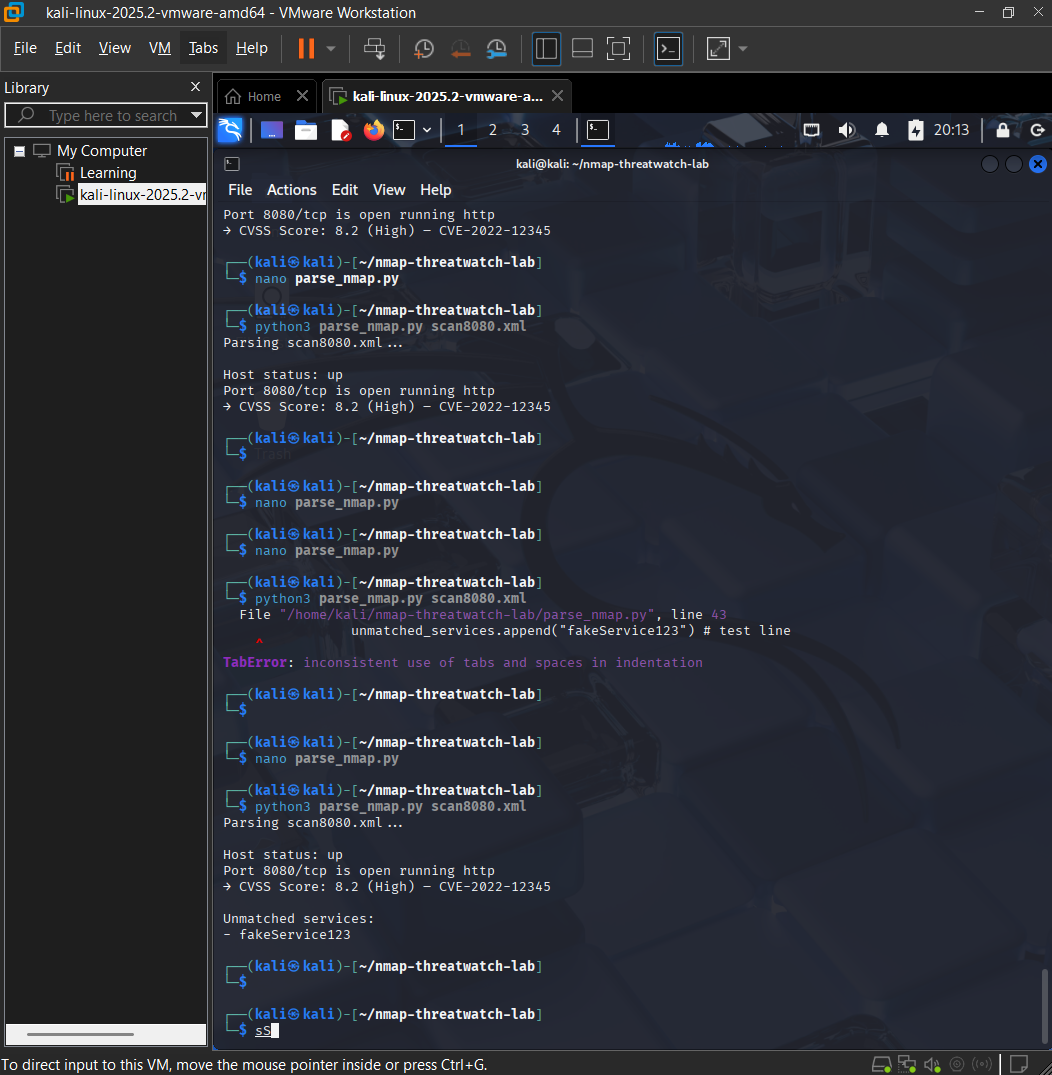
#### 📸 最终实验结果
以下是脚本逻辑在终端环境中成功运行的最终综合视图:
## 🚀 如何运行
1. **启动本地 HTTP server:**
python3 -m http.server 8080
2. **运行 Nmap 扫描以生成 XML 数据:**
nmap -sS -sV -O -p 8080 -oX scan8080.xml 127.0.0.1
3. **使用 threat watch 脚本解析结果:**
python3 nmap_threatwatch.py
4. **在终端输出中直接查看 CVSS 评分指标和未匹配的服务。**
🎯 **本实验的意义:** 它验证了在实施系统自动化流水线、解析结构化配置框架、评估威胁元数据 schema 以及整洁地管理技术项目环境方面的实际操作能力。
## 📄 许可证
本项目基于 MIT License 授权。有关详细信息,请参阅 [LICENSE](LICENSE) 文件。
标签:CTI, Python, 威胁情报, 密码管理, 开发者工具, 插件系统, 数据统计, 无后门, 端口扫描, 网络安全, 逆向工具, 隐私保护