ChatGPT商用源码 | 免费分享 | 支持用户组、按量付费、签到等多项功能
作者:FancyPig | 发布时间: | 更新时间:
相关阅读
data-postsbox="{"id":32445,"title":"如何制作一个ChatGPT聊天页面 | ChatGPT国产化思路","author":"FancyPig","author_id":1,"cover_image":"https://static.pigsec.cn/wp-content/uploads/2023/02/20230216014624643.png","cover_video":"","views":92272,"comment_count":16,"category":"knowledge","is_forum_post":false}">{"id":32445,"title":"如何制作一个ChatGPT聊天页面 | ChatGPT国产化思路","author":"FancyPig","author_id":1,"cover_image":"https://static.pigsec.cn/wp-content/uploads/2023/02/20230216014624643.png","cover_video":"","views":92272,"comment_count":16,"category":"knowledge","is_forum_post":false}
data-postsbox="{"id":36351,"title":"如何制作一个ChatGPT聊天页面(二) | ChatGPT国产化思路","author":"FancyPig","author_id":1,"cover_image":"https://static.pigsec.cn/wp-content/uploads/2023/05/20230506152902118.png","cover_video":"","views":30939,"comment_count":6,"category":"knowledge","is_forum_post":false}">{"id":36351,"title":"如何制作一个ChatGPT聊天页面(二) | ChatGPT国产化思路","author":"FancyPig","author_id":1,"cover_image":"https://static.pigsec.cn/wp-content/uploads/2023/05/20230506152902118.png","cover_video":"","views":30939,"comment_count":6,"category":"knowledge","is_forum_post":false}
data-postsbox="{"id":39593,"title":"chatgpt商业版汇总 | 包含部分开源Github项目汇总","author":"Sec-Labs","author_id":10015,"cover_image":"","cover_video":"","views":540,"comment_count":1,"category":"","is_forum_post":true}">{"id":39593,"title":"chatgpt商业版汇总 | 包含部分开源Github项目汇总","author":"Sec-Labs","author_id":10015,"cover_image":"","cover_video":"","views":540,"comment_count":1,"category":"","is_forum_post":true}
杂谈
之前已经分享了2期ChatGPT本地化教程,但这些都不带后台,并且理论上也无法进行商业用途,本期为大家带来一个由@79E开源的ChatGPT Web界面代码(V1.2.2版本是开源的),我将给猪猪粉们在下面分享详细的部署教程。
界面效果
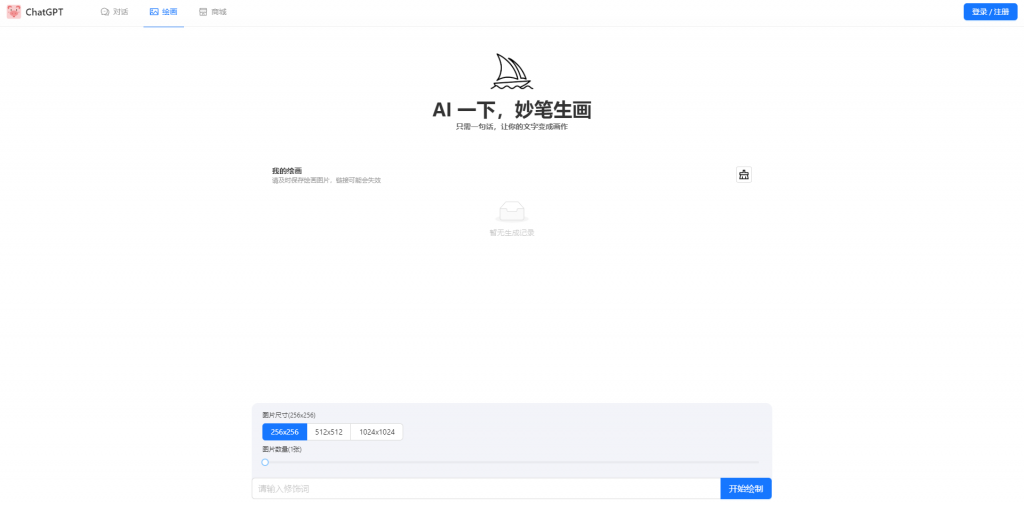
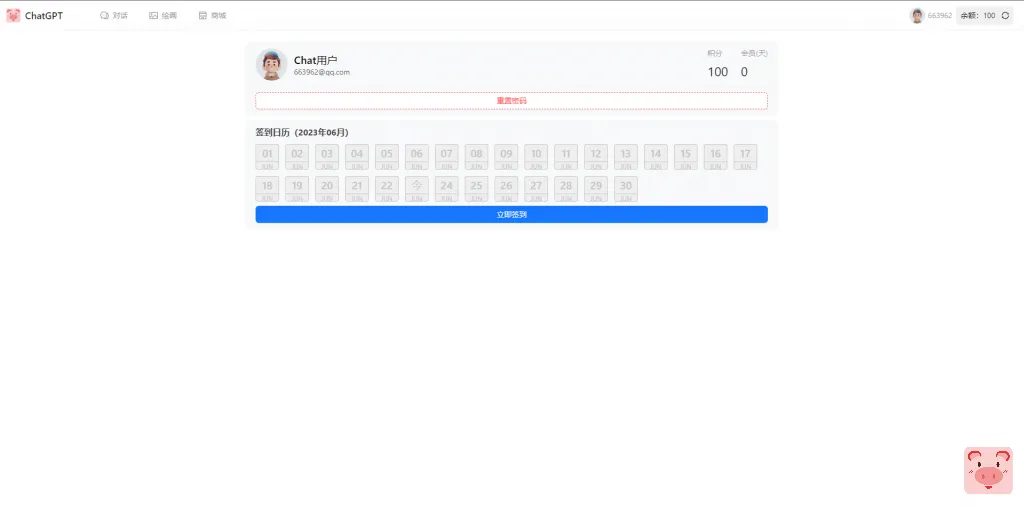
前台预览


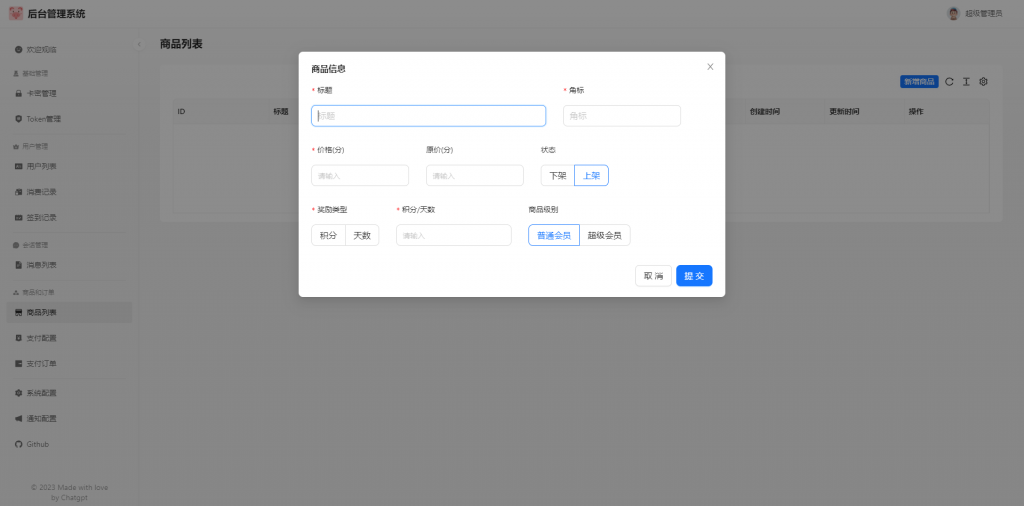
后台预览


源码下载
部署教程
源码下载的安装包中有作者给的部分安装指导,如果看不明白,可以继续阅读下面的安装教程。
技巧分享
管理员如何添加
你可能需要到后台,修改role为administrator就行了
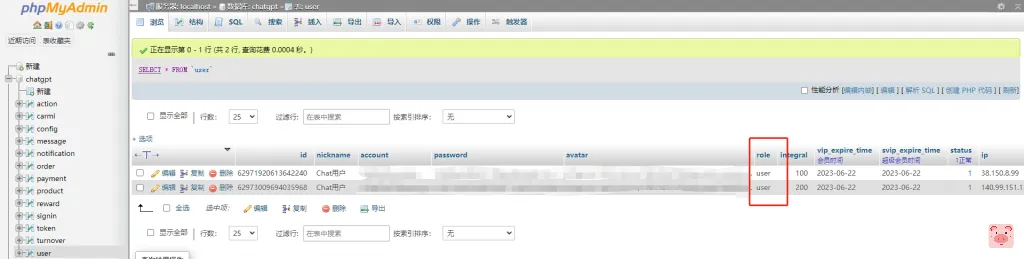
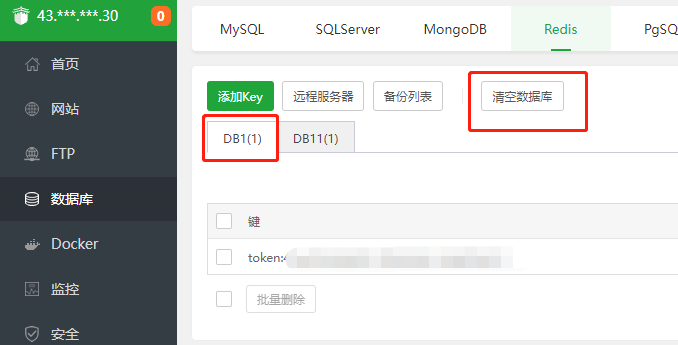
这里有个小细节,修改之后记得redis清空下,否则进入后台会报异常错误。
访问路径刷新404

你可以在Nginx中添加上伪静态
		location / {
            root   /www/wwwroot/网站路径/dist;
            try_files $uri $uri/ /index.html; # 加上这个配置
            index  index.html index.htm;
        }
之后再刷新就没问题了